Overview
- Introduction: What will I learn and why?
- What are the internet and world wide web (are they the same?) and how do they work?
- Overview of key terms
- IP/DNS and HTTP by example
- Getting started with a web host/server
- Setting up DNS
- A brief interlude
- Getting files onto your web server
- Setting up web applications with cpanel
- Working with different services on a server (the LAMP stack and beyond)
Key Terms
- internet (interconnected network): the physical network connecting billions of computers around the world. connections are made using a combination of copper wire, fiber optic cable, satellite, and cellphone communications (radio waves)
- world wide web: the subset of the internet used for sending html web pages, i.e., everything you view in a web browser, but not things like email or ftp (even though you can view those using web applications)
- server: a computer that stores and serves content, e.g., web pages, videos, databases, applications, etc.
- client: the device that requests content from a server, e.g., computer, phone, tablet
- http (hypertext transfer protocol): the language (instructions) used to assemble packets of data for transmission over the internet
- ip address (internet protocol address): the unique address used to locate a server containing the content you want to access (e.g., 255.255.255.255)
- url (uniform resource locator): the unique address used to identify individual resources, e.g., web page, video, picture, etc.
- dns (domain name system): the lookup directory linking domain names (e.g., www.google.com) to ip addresses (74.125.228.208)
- html (hypertext markup language): the code/syntax for laying out text, images, etc. on a web page
Introduction
This post (and workshop) will teach you the basics of how the internet and world wide web work, what a web server is and does, how to get started using a web server to build web pages and web applications, and how to configure your own domain name. By the end of this guide, you will have set up your own web hosting, a basic website, and a ready-to-go WordPress site.
You will be setting up your own (free) web hosting account on http://stateu.org. This is a service offered by the wonderful folks at Reclaim Hosting specifically for educational purposes, like learning how to manage your own website!
You will also learn how to configure a subdomain, like the one I made for my demo site: http://htmldemo.keithmiyake.stateu.org
Finally, you will use a script running on the web server to automatically set up and configure your own WordPress site like this: http://wp.keithmiyake.stateu.org
What is the Internet and how does it work?
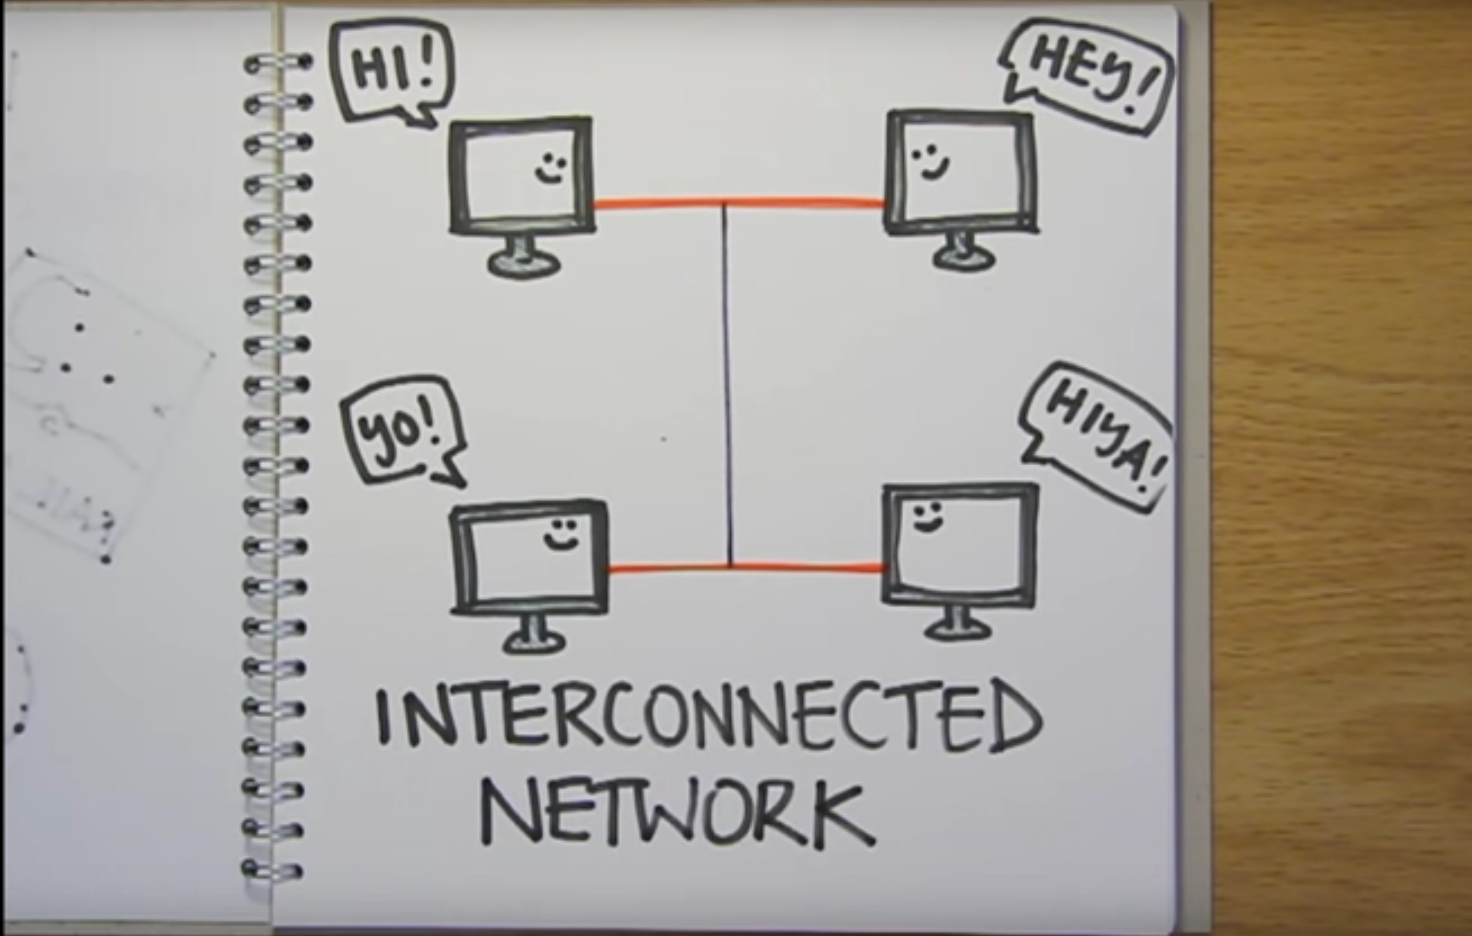
In the most basic terms, the Internet is an interconnected network that allows billions of computers around the world to communicate with one another. The world wide web is a subset of the Internet that is designated for serving web pages for viewing in a web browser. These two videos do a better job of explaining:
No Title
No Description
No Title
No Description
IP/DNS by Example
Let’s get a more in-depth view of how IP addresses and domain names work.
First, let’s see how a domain name gets converted into an IP address.
- Visit http://tracert.com/resolver in a web browser (link opens in a new window)
- Enter the domain name you’d like to hunt down. I used www.gc.cuny.edu.
- The DNS resolver should return the IP address associated with the domain name you entered in step 2. The IP address I got for the Graduate Center’s website was 146.96.128.106.
Next, let’s see if we can trace the path that data takes to get from your computer to Google.
- Visit http://www.monitis.com/traceroute/ in a web browser (link opens in a new window)
- Enter www.google.com and click “Start Test” to view a map representing some of the “hops” between the web service’s servers and one of Google’s servers.
- Now try it from your computer.
- If you are on Windows, hit Win-R and type “cmd” then click return.
- At the command prompt, type “tracert www.google.com” and hit return.
- If you are on a Mac, hit cmd-space then type “terminal” and click return.
- At the terminal prompt, type “traceroute -I www.google.com” and hit return.
- If you are on Linux, open a terminal window (varies by distribution, ctl-alt-T might work) and type “traceroute -I www.google.com” and hit return.
The list that appears when you run traceroute is the path that data follows to get from your computer to one of Google’s servers (they have about a bajillion of them). Each of those items represents a unique router helping data packets find their way around the Internet.
HTTP by Example
This next part will demonstrate how HTTP works at the most basic level. When you enter a URL into a web browser’s address bar, the browser resolves the domain name, then sends an HTTP request to the server located at the resolved IP address. If there is a server listening at that IP address, it will respond with one or more codes telling the browser the status of the request. Was it a successful request (200)? Was the request for something that doesn’t exist on the server (404)?
If the HTTP request is successful, the server will send the requested content back to the client that made the request. If the requested content is a web page, it transmits the raw HTML code for the browser to decode and convert into the web page you see.
Let’s try a couple of requests to see what’s going on behind the scenes.
- Load http://web-sniffer.net in your web browser (launches in a new window)
- Enter “http://www.gc.cuny.edu” (don’t forget to enter the reCaptcha text) and click Submit
- The “HTTP request header” is what is being sent to the GC’s web server. Notice the first line shows the resolved IP address of www.gc.cuny.edu (146.96.128.106).
- The “HTTP response header” is what the GC’s web server sends back. In this case, it’s returned the status “301 Moved Permanently” meaning that the resource at www.gc.cuny.edu is actually located at a different address, in this case, “http://www.gc.cuny.edu/Home” (the “location” only shows the part after the domain name since the response indicated “SAMEORIGIN”)
- Enter the new URL (http://www.gc.cuny.edu/Home) into web-sniffer.net
- This time you should get a “200 OK” status. You’ll also see the content returned by the server following the response header. This content is a combination of HTML, CSS, and Javascript, which a browser would use to render the page.
Set up Your Own Web Hosting
To help you get a better understanding of what’s going on behind the scenes of a web server, let’s go ahead and set up a web server account so that we can play around and configure the web server ourselves.
Sign up for an account at http://stateu.org. It’s free and pretty awesome. Pick a subdomain that you want people to associate with you. I used keithmiyake since it’s my name.
When your account is set up and you log in to their dashboard, you will see a “cpanel” interface. Many web hosts run this software on their servers because it provides an easy way for users to configure their web servers, set up applications, and check out things like how much traffic is going to their websites. Feel free to look around to see all of the services you can configure from the cpanel interface. In the next section, we’ll use the DNS tools to configure your domain name.
Configuring a Domain Name
Many web hosts will give you a free domain name when you purchase a hosting package. Unfortunately, stateu.org is a free educational service and doesn’t provide a free domain name. If you wanted to associate a domain name with your stateu.org account, you would need to register your domain with a service like http://namecheap.com, then configure your domain registration to point to the appropriate IP address for your hosting service.
We won’t go through the process of associating a new domain name with your web server in the workshop, but here are the steps you would follow to do it:
- Register a new domain name using your web host, or purchase one through a domain name service such as namecheap.
- Follow the instructions for setting up the DNS records provided by your provider. Here are Namecheap’s instructions for reference.
- This typically involves setting up an “A” record that links your new domain name to a specific IP address. You need to know the IP address of your web server.
- If you are using stateu.org, load the dashboard and on the left side, click “Expand Stats” then click “Server Information” to locate the “Shared IP address” of your web server. If your web host uses cpanel, you should be able to find your server’s IP address in a similar fashion.
- Select “A” as the DNS record type. Enter the IP address for your web server in the “IP Address” field and your domain name in the “name” or “domain” field (varies by interface). Save the record.
- You can additionally set up one or more “CNAME” records, which point from one address to another. For example, you can enter “www” to have www.yourname.com point to yourname.com (without the leading www).
- On your web host’s cpanel, you need to let the server know what to serve when someone visits your domain name. If you registered your domain name through your web host, this information is probably configured automatically. If you registered with another service, you will need to do this manually.
- Assuming you’re using stateu.org, click “Addon Domains” from the cpanel interface.
- Under “domain name” enter the domain name you just registered, without “www.”
- You can leave subdomain blank, or if you want, you can add something like “www”
- Under “document root”, you can leave it blank to have it point to the default server directory (usually /public_html/), or you can point it to a specific directory. More on this later, but for now just leave it blank to point to the default directory.
- Click “Add Domain” and you’re done! Once your domain name registration propagates throughout the Internet, you should be able to load yourdomain.com in a browser and see your stateu.org website!
- If you want to host multiple websites on your server, each with its own domain name, you would repeat these steps, using the same IP address, but change the domain name and directory. Instead of everything pointing to /public_html/, you would point to the different directories containing the files for each website, such as /public_html/wordpress or /public_html/static_html or /my_python_app/.
Let’s assume that you want to host multiple websites on your web server. We are going to set up a WordPress blog as well as a static HTML site in this tutorial. You can use subdomains to automatically load the correct information based on the URL someone enters in their web browser. For example, my stateu.org website URL is http://keithmiyake.stateu.org. I can create a WordPress subdomain at http://wp.keithmiyake.stateu.org that points to one directory on the server, and another subdomain for serving my HTML site at http://htmldemo.keithmiyake.stateu.org. So without registering any additional domain names, I can run multiple websites, each with their unique URL. If you’re using your own domain, the URL would be shorter, such as http://wp.keithmiyake.info (doesn’t actually exist).
- From your stateu.org cpanel, click on “subdomains.”
- Enter the subdomain prefix, such as “wp” to make “wp.keithmiyake.stateu.org”
- Under “domain” you would select the domain you want to associate with this subdomain, if you had multiple domain names registered.
- For document root, enter the directory that this subdomain will point to. By default it will point to your public_html directory. But we want to set up a subdomain for the WordPress site we will configure in the next section of this tutorial. Enter “wp” here and click “Create.”
- The stateu.org service will allow you to create up to 2 subdomains. You can configure another subdomain later, if you’d like.
Intermission
While we allow time for everyone to finish setting up their subdomains, please take a minute to complete this survey, which provides vital feedback to us and is how we justify continuing to offer these workshops!
Geting Content onto Your Server
Now that we’ve completed a basic server setup, it’s time to start putting content into your websites! We will start with a common web application, a WordPress blog. Then we will upload a static website built with raw HTML, CSS, and Javascript.
Most web hosts offer scripts to automatically install common web applications such as WordPress, Omeka, and Drupal. These scripts make setting up the server extremely simple and save you from needing to manually configure all of the applications’ components, such as databases and configuration files. The other big advantage is many of these scripts will automatically keep your application updated with the latest security fixes.
- Go back to your cpanel dashboard and click on the WordPress button near the top of the page. This will load the WordPress installation script. You can view and install other applications by clicking the “view more” link in the featured applications section of cpanel. Other web hosts might use a different interface, such as Softaculous, but the following steps are almost identical.
- When the WordPress page loads, you can read more information about the app, or just go ahead and click “Install this application.”
- On the next page, select the domain on which you wish to host your application. Since we configured a subdomain for your WordPress site, click on the dropdown and select “http://wp.yourname.stateu.org”. You should see the URL and directory base change to something like “/home/yourname/public_html/wp/”.
- Under “directory,” you could specify a subdirectory, but since we already configured your subdomain to use a different directory, you can leave it blank. If you weren’t using a subdomain, you could enter something like “blog” here to have your WordPress address be “http://yourname.stateu.org/blog” but in our case, this is redundant.
- You can leave all of the “Version” options at their defaults.
- Under “Settings,” create your WordPress username and password. You can use anything you’d like; these DO NOT have to match the login and password for your stateu.org account.
- Give your WordPress blog a title and optionally, a tagline. If you want to setup multiple blogs on your site, you can check the box to enable multi-site, but for simplicity, let’s leave it off for now.
- You can leave the “Advanced” settings at their defaults for now.
- Click the “+Install” button at the bottom of the page and wait for the installation to complete!
- Navigate your browser to your subdomain. Here’s mine: http://wp.keithmiyake.stateu.org
- Note the link to the WordPress administration page, something like “http://wp.yourname.stateu.org/wp-admin”. This is where you can log in to your WordPress site to add pages, change the theme, etc.
- If you want to change WordPress settings, you can return to the “My Applications” page from the cpanel dashboard and edit, backup, copy, and delete your installation.
The next thing we will do is upload files from your computer directly to your server. You could also use these steps to manually install WordPress or other web applications that aren’t available as cpanel scripts.
Transferring files to a web server typically makes use of FTP, or File Transfer Protocol. This is a protocol similar to HTTP, but is used for bi-directional transfers instead of one-way serving. Different web hosts have different security protocols in place to protect your data, so you might not have FTP access, but instead something like SFTP. Since we’re using stateu.org, you’re in luck since they even provide an interface to configure FTP access.
Accessing your web server using FTP requires an FTP client program, such as Cyberduck or FireFTP (both free and open source; avoid Filezilla since it now comes with malware via sourceforge).
- Download and install either Cyberduck or FireFTP. If you’re using the Firefox browser, FireFTP might be easier, but I prefer Cyberduck.
- Open the FTP program and open a new connection
- Enter the address to your stateu.org account. Mine is keithmiyake.stateu.org
- Enter your stateu username and password. The password field might not be displayed, but it will prompt you when you connect.
- Leave the rest of the settings at their defaults and then connect!
- You should see a directory listing for your stateu.org server. If you poke around, you should be able to find your “wp” folder inside of the “public_html” directory. Cool.
- Now let’s get some content to upload! Go to http://html5up.net/ and find a template that you like. Click on the “Free Download” button for that template and it should save a .zip file to the downloads folder on your computer. Double click that .zip file and extract it to the downloads folder or your desktop (any place where it’s easy to find).
- In your FTP program, navigate to the “public_html” directory. Upload the folder that you just extracted in the previous step to the “public_html” directory.
- Once the folder finishes uploading, rename it “static_html”
- Open your stateu.org dashboard and click on “subdomains.” See if you can create a new subdomain that points to your “static_html” site, using the subdomain “www” (*Hint: it’s almost identical to the steps you followed earlier to setup your “wp” subdomain).
- Try navigating to http://www.yourdomain.stateu.org. If you configured your subdomain correctly, it should show your static HTML site based on the template you downloaded from html5up.net.
- Challenge: edit the index.html page to customize your static website!
- You can either edit the page on your computer and then reupload it to your server using FTP, or you can edit the page directly in your browser using the cpanel file manager. I’ll get you started using the latter method.
- In the stateu.org dashboard, click on “File Manager.” In the popup window, select “Document root for” and then select the subdomain for your “www” (static_html) subdomain, then click “Go”
- Select the index.html file in the file manager, then either click “Code Editor” or “HTML Editor.” The former lets you manipulate the raw HTML code. The latter will give you a visual editor if code makes you squeamish!
- When you’ve made some changes to the page, save the page and then reload your site in another browser window to see how it looks.


