
A couple of weeks ago, I ran a workshop on the Basics of Audio Editing with Audacity. This workshop comes after my Fall workshop on Getting Good (Enough) Audio Recording. For those who might be considering sound projects but were not able to participate in the previous workshops, I hope this post will be useful to you as I recap some of the key applications of Audacity from the workshop. If you have questions about the post, please feel free to reach out via the Sound Studies commons group or through setting up a consultation session with the GC Digital Fellows.
Before Cleaning and Editing
Before getting started on audio editing, it is important to keep in mind that there is only so much you can do to salvage, clean, and/or edit a badly recorded audio file. For example, you can’t put back data you don’t have (e.g. when the audio file is clipped) or isolate tracks from loud background noise (e.g. when you record in a crowded cafe). As such, make sure that the recording is as good as you can get it (refer to the workshop on Getting Good (Enough) Audio Recording for a more detailed discussion).
For the workshop, I focused on Audacity as: 1) it’s free! and 2) it’s cross-platform (Windows, MacOS, GNU/Linux, and Chromebook). While learning Audacity can be intimidating, I hope to demystify part of the process. To that end, I have attached a short Gif for each step of the process followed by a description of the task.
Cleaning and Editing in Audacity

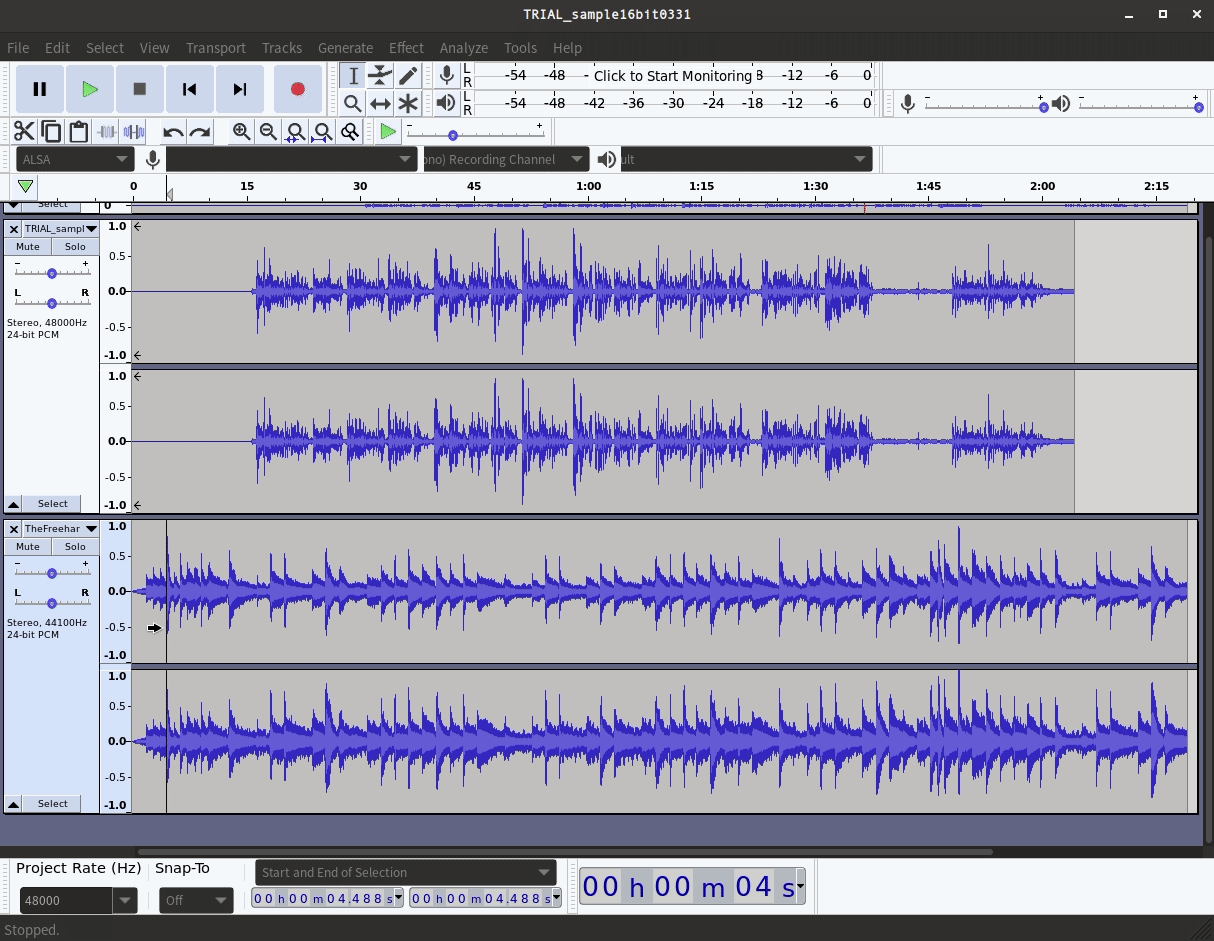
Whenever I import my files into Audacity (File > Import > Audio), I always make sure to duplicate the original track before adding any filters or edits. To duplicate the track, select the original track then click on Edit > Duplicate (or use Ctrl/Cmd + D). I duplicate the track to avoid making direct edits in case of a file corruption or other non-reversible actions. When working in Audacity, I always save my work-in-progress as an Audacity project file (.aup).
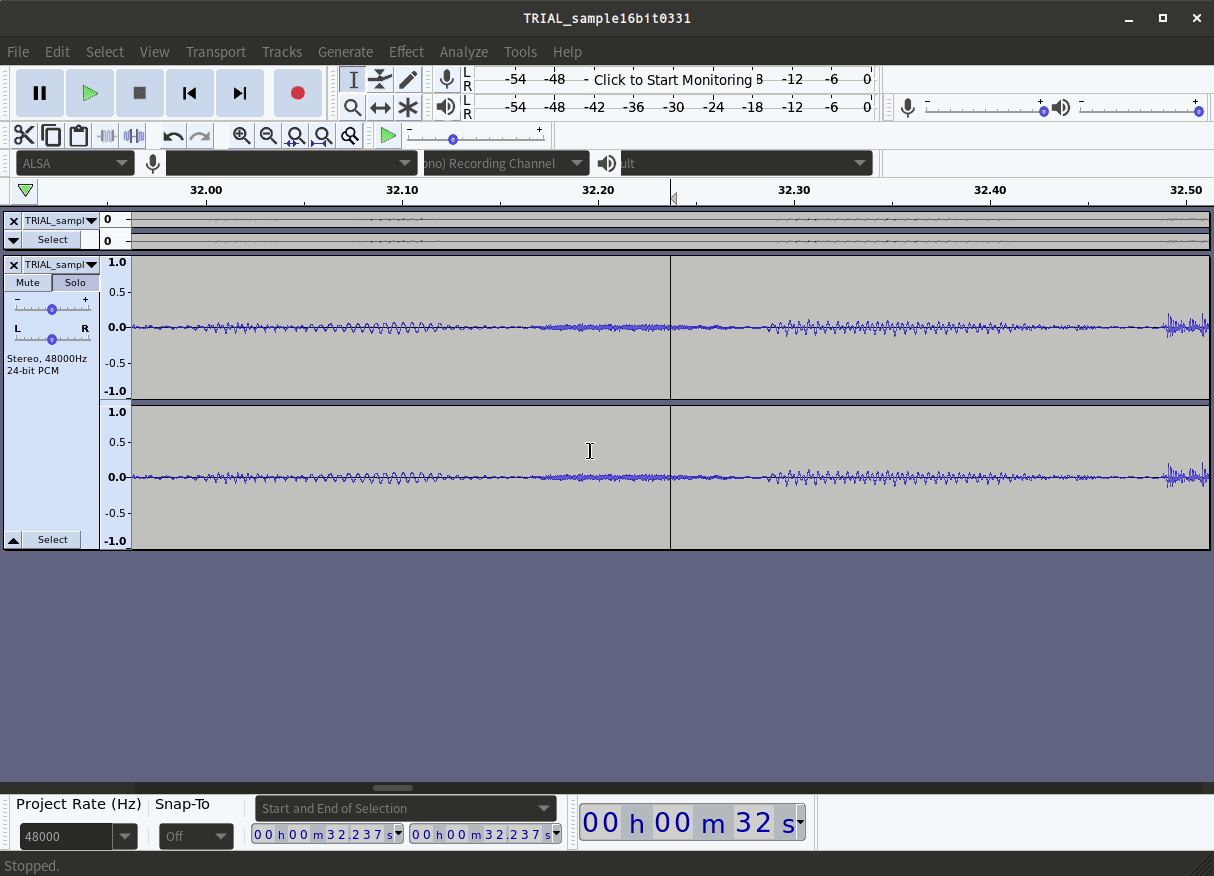
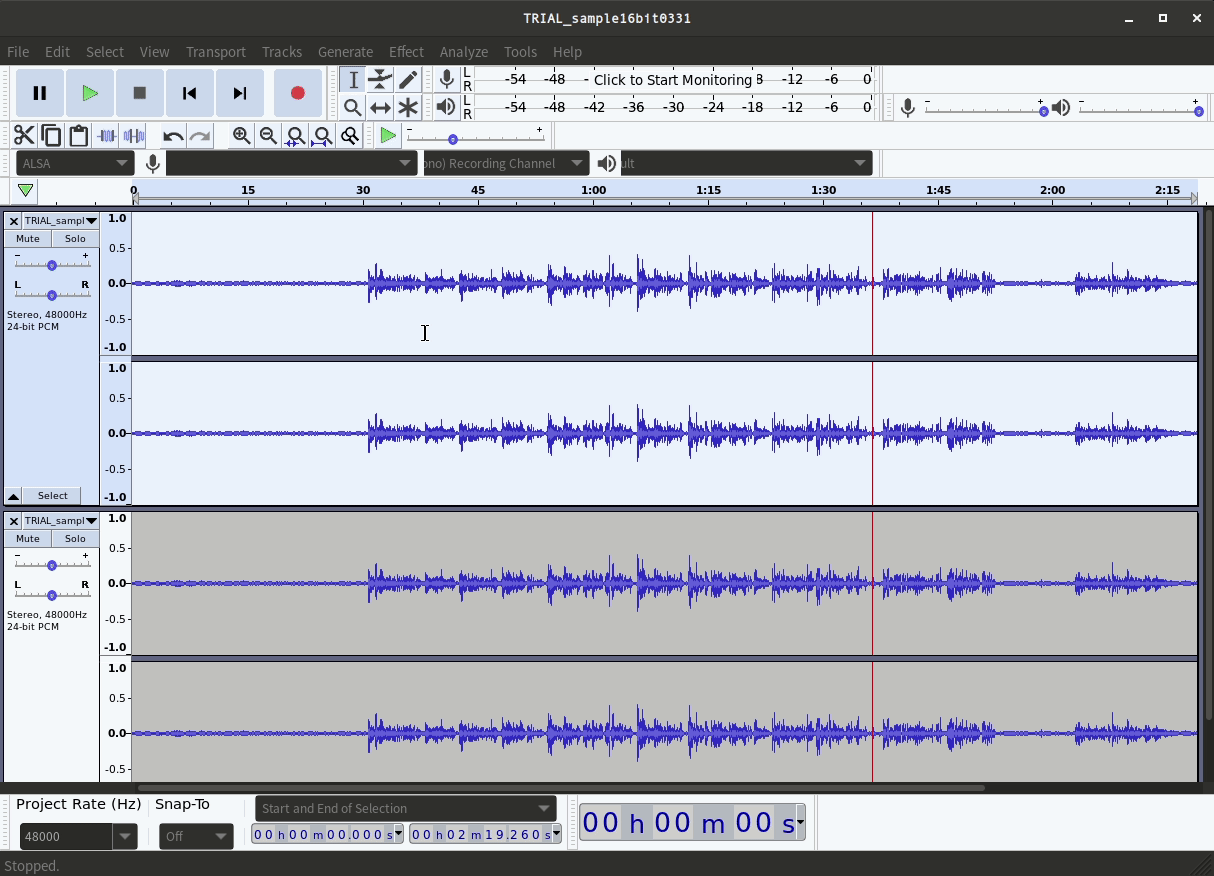
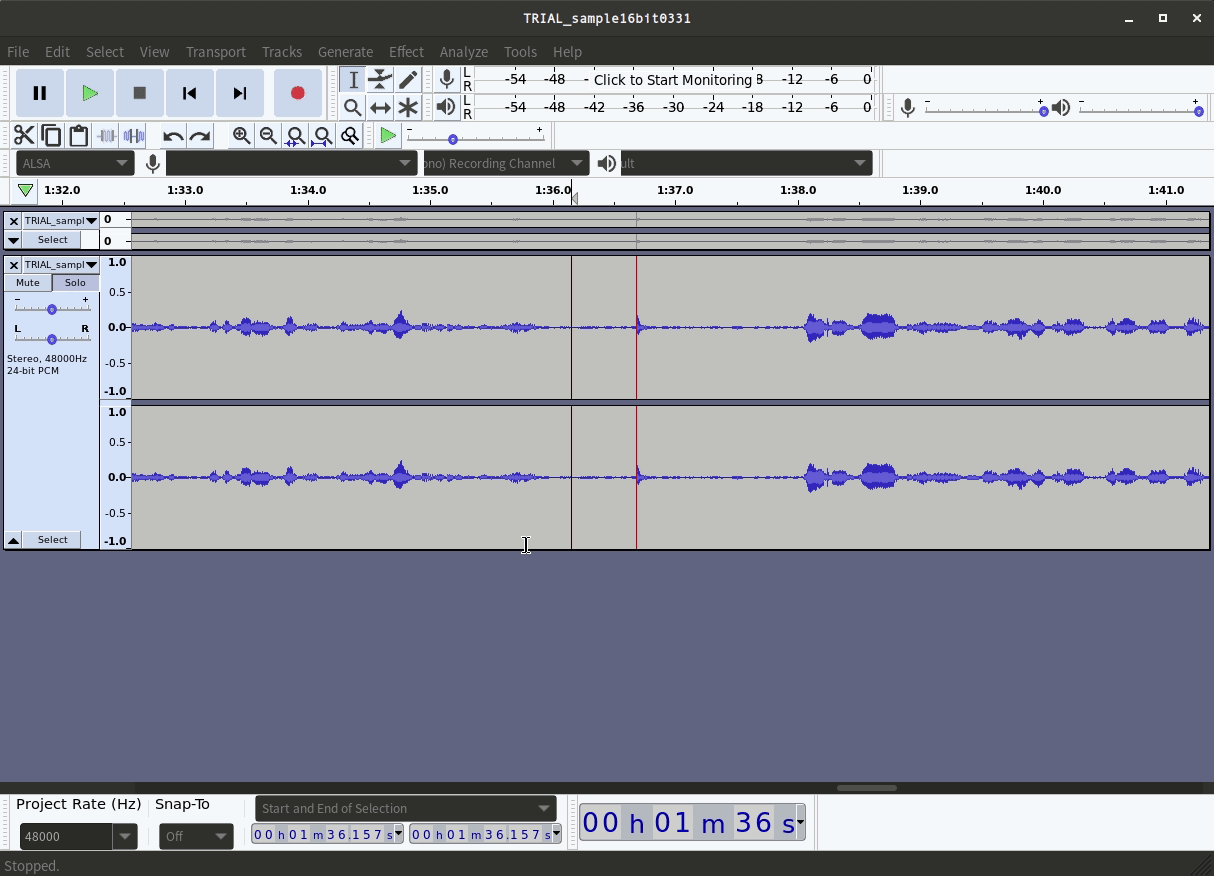
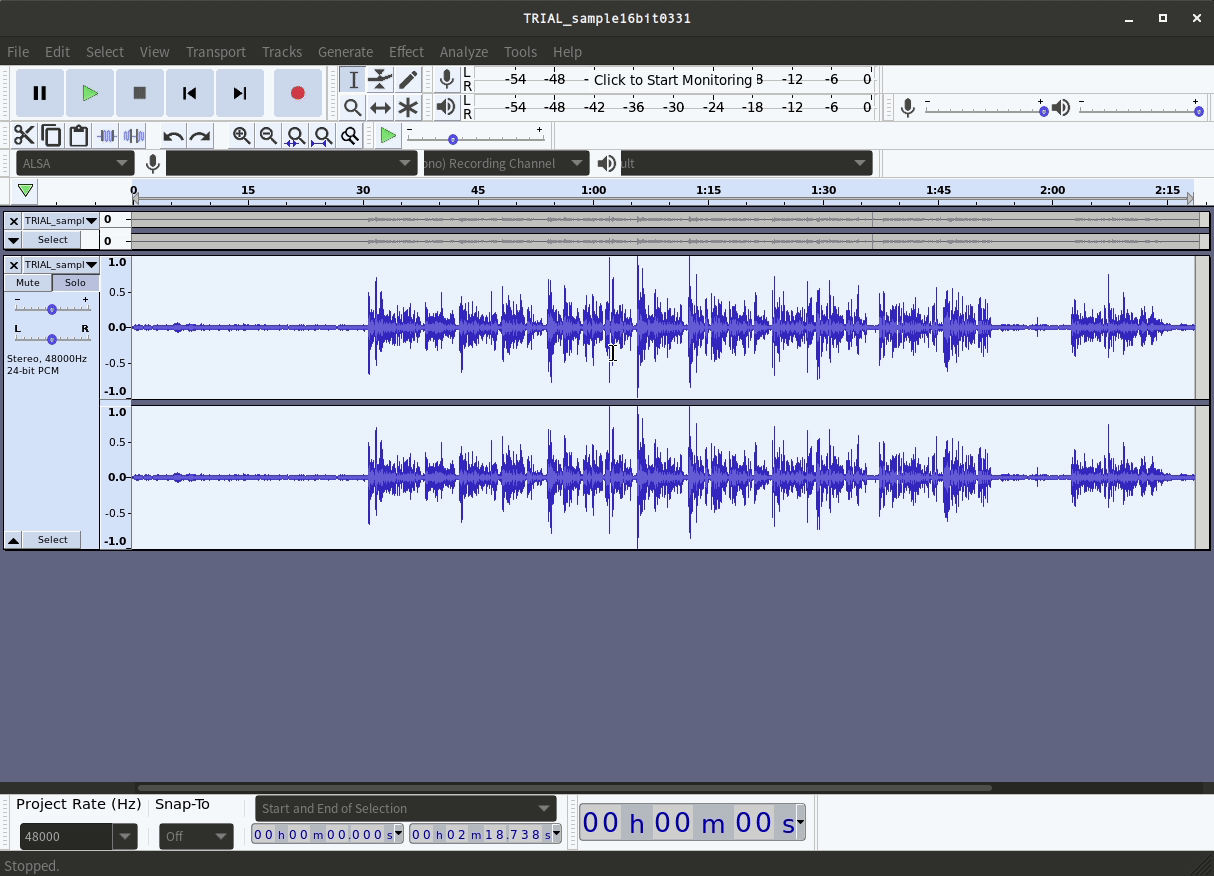
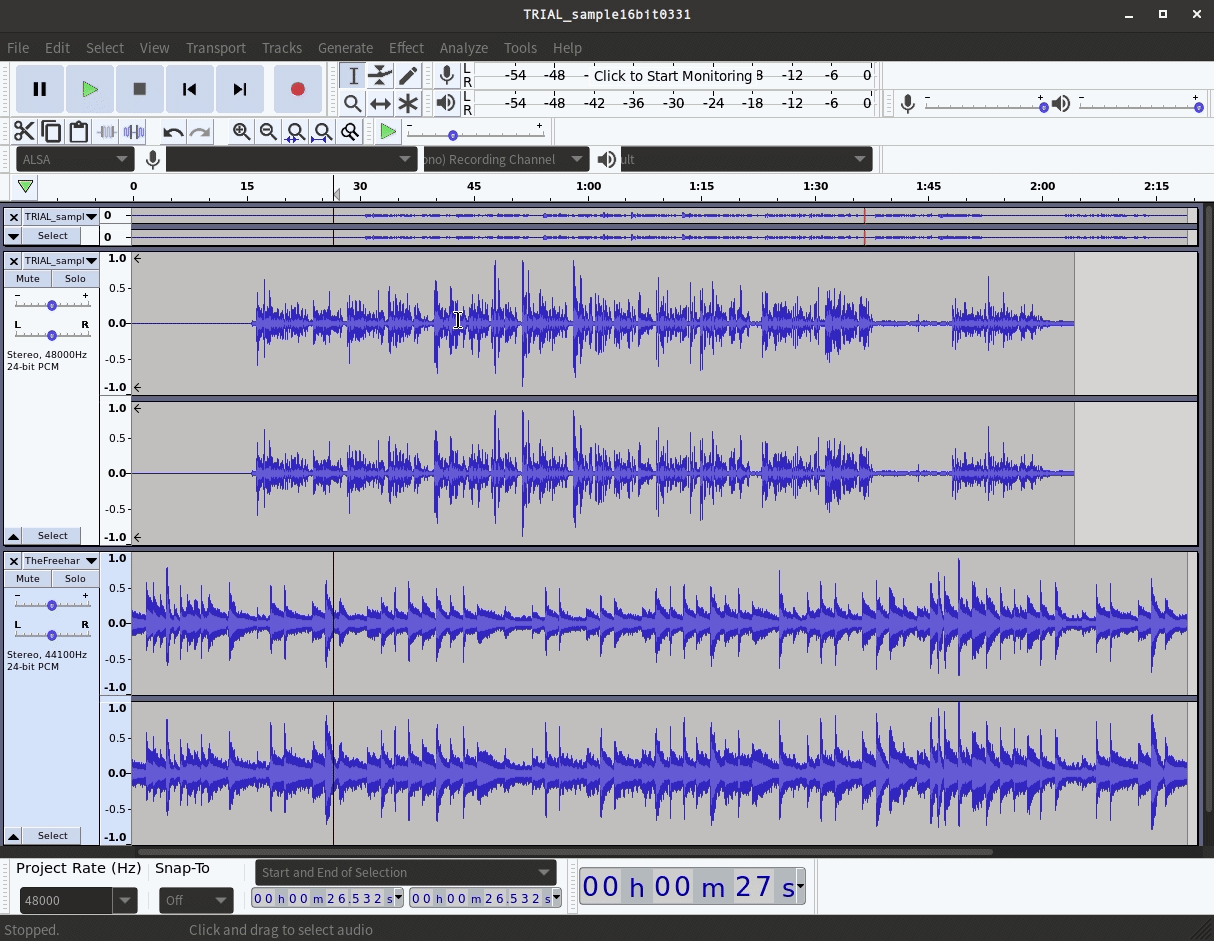
After importing and duplicating the audio file, I also listen to the full clip and do a quick visual inspection of the file. In this example, when I zoomed out to inspect the waveform of my full audio clip, I noticed that there was a clipped section in my audio file (indicated in red) that required my attention before I moved to cleaning and editing. I then zoomed into that section of the audio clip and played the audio back to check if it was something I could easily remove and noted the timing of the clipped audio.
After inspecting my file, I then employ the Noise Reduction effect (Effect > Noise Reduction). This helps me in reducing consistent background sound from my recorded audio file, such as the room tone of my recording environment.
There are two steps to using the Noise Reduction effect. The first step is to let Audacity know what it should identify as the “baseline” for noise/room tone. Before selecting the effect, I will highlight a portion of the track that I’ve previously recorded as room tone. Next, I will navigate to the Noise Reduction effect (Effect > Noise Reduction), and click on the “Get Noise Profile” button. The dialog box disappears (a silent success!), and I will then select the portions of my track that I want to remove the noise from (double-click or Ctrl/Cmd + A to select the full track). For a more detailed explanation of the effect, please check out the Audacity manual.
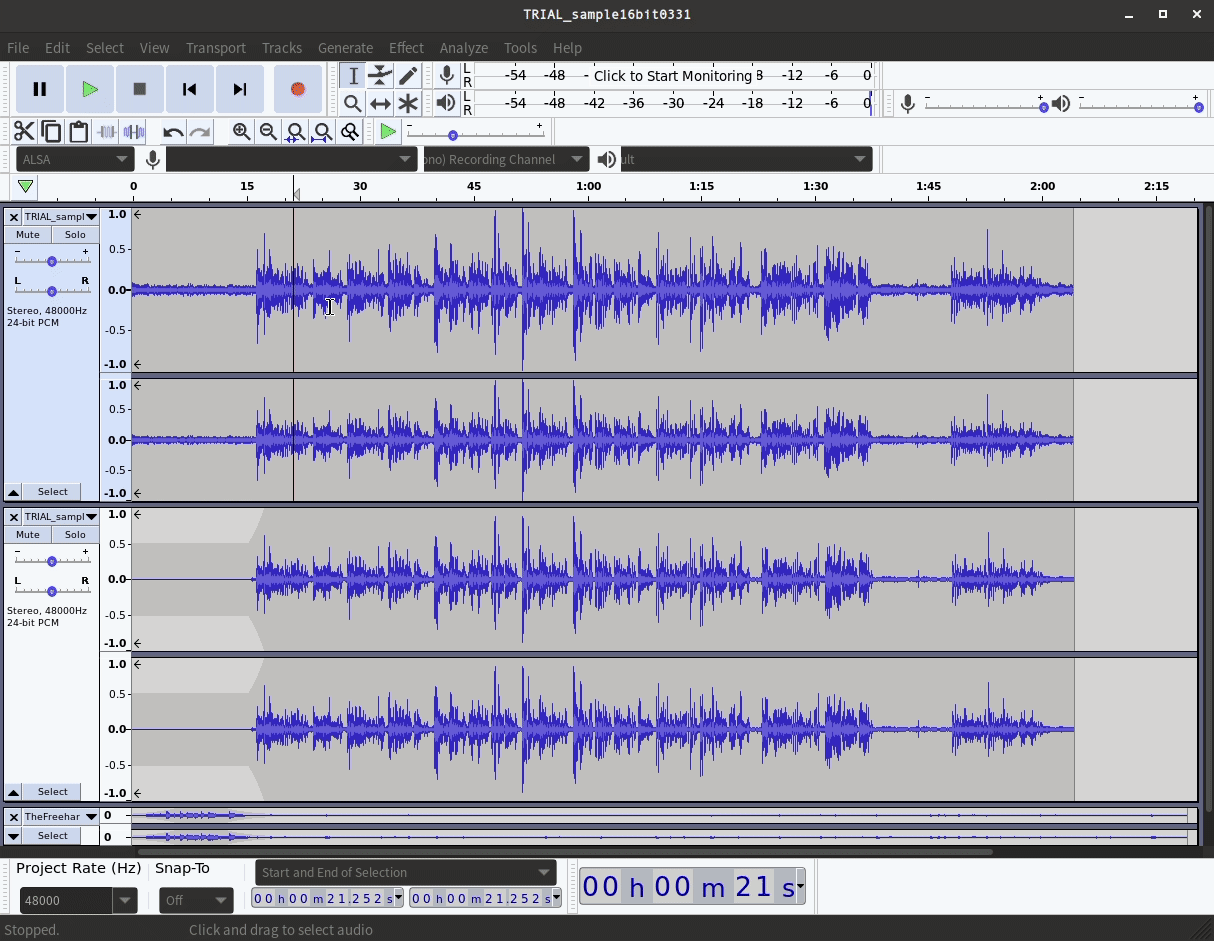
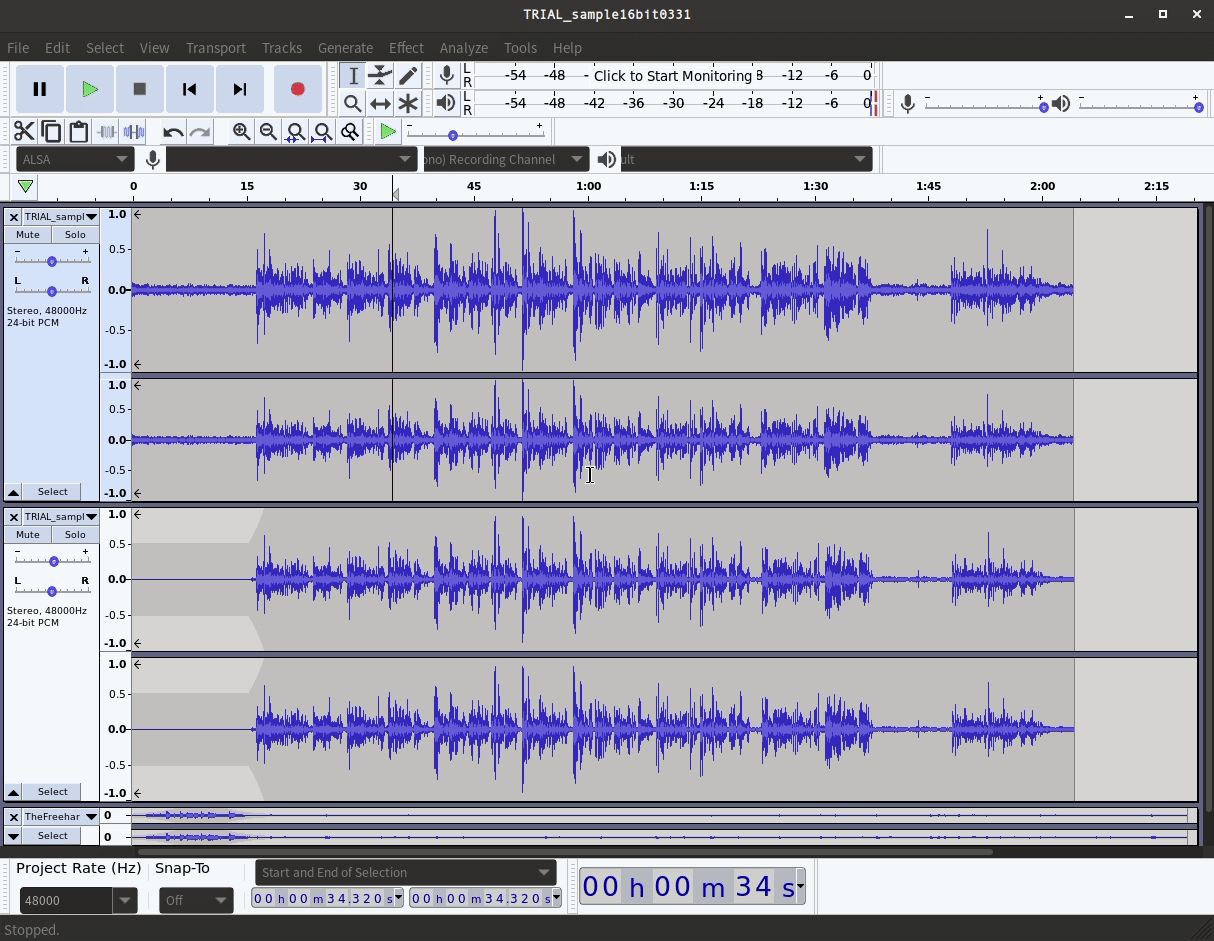
Following the Noise Reduction effect, I then choose to either employ an Amplify effect or Normalize effect on my track. In this example, I first remove the clipped audio before employing the effect. Amplify applies the same amount of loudness to the entire track base on the loudest moment in the track. Hence, amplification will be minimal if I employ it before removing the clipped audio, since the default setting will not allow me to amplify a track beyond the maximum limits. After removing the clipped section, Amplify will increase the volume of the entire track based on how much it takes for the loudest portion of the track to reach maximum limits. While I rarely do this, checking the checkbox next to “Allow clipping” will allow me to increase the volume of my audio recording beyond the maximum limits. Because Amplify applies the same amount of effect to the whole track, if my recorded audio is unbalanced, the track will retain the unbalanced sound even after the application.
If I want to balance a track, or if my track is generally too loud, I use the Normalize effect instead. For most purposes, only the last two options in the dialog box are relevant. “Normalize peak amplitude to [ ]” tells audacity the limit to place on your audio file. Unlike Amplify, Normalize cannot go beyond the default of -1db, which is just below the maximum limit of your device/software. If checked, the second option to “Normalize stereo channels independently” will employ a different amount of effect onto each channel. This is useful when trying to rebalance the left and right channel.
Before the next section, I want to emphasize a couple of things. Firstly, I apply as few effects as I can to my audio track. With each effect, I am introducing a new digital distortion. Over application can result in a “robotic” voice and/or excessive loss of data. Next, in all the effects introduced so far, there is a “Preview” button at the bottom of the dialog boxes. This is a really useful button as it allows the user to hear a preview (usually about 6-10 seconds) of the clip after the effect is employed. This is particularly important when working with longer clips, as the time it takes for Audacity to apply the effect increases as the length of the file increases (e.g. 1 hour uncompressed audio ~ 10 mins to apply an effect). Utilizing the preview function to check if the application is too much or too little can help save some time.
Fading-in and out
Fading an audio clip is a useful audio cue that signals to listeners that a clip is starting and ending. It is also useful when introducing a new audio segment to the existing clip (e.g. cross-fading) so that the change/transition is not jarring to the listener. There are 2 main ways in which I do fade-ins and fade-outs.
The first way is the quickest way to introduce a fade. Audacity has default effects for fading that can be applied quickly onto any part of a track. For this example, the effect I chose employs a linear fade. You may notice that I have added a background music track to my podcast project, and I want to have it fade in to indicate that the episode is starting. Ithen have to do a cross fade between my background track and my spoken narrative to indicate to listeners that I am switching over to my main audio track. To do this, I employ a fade out on my background track and a fade in on my main audio track. I have also chosen to silence the rest of my background track after doing a cross-fade.

To signal to the listener that the audio track is ending, Iuse a similar technique of cross-fade, but this time, I fade in my background track and fade out my main audio track. To read up more about the different kinds of fading effect Audacity provides, check out the documentation.
Alternatively, you can also employ a more manual fade on your tracks. This method will allow you to keep your background music without silencing it completely as your episode progresses.
This method utilizes the Envelope Tool and the insertion of control points. In this example, I inserted 4 control points for my background track and 2 for my main audio track. This allows for a more minute manipulation of the track. Dragging the external control points (the ones on the blue line) will ensure that it will not be amplified beyond the maximum limit of the track. Dragging the inner control points (the ones on the grey shaded area) will allow it to be dragged beyond the maximum volume.
Mixing and Exporting
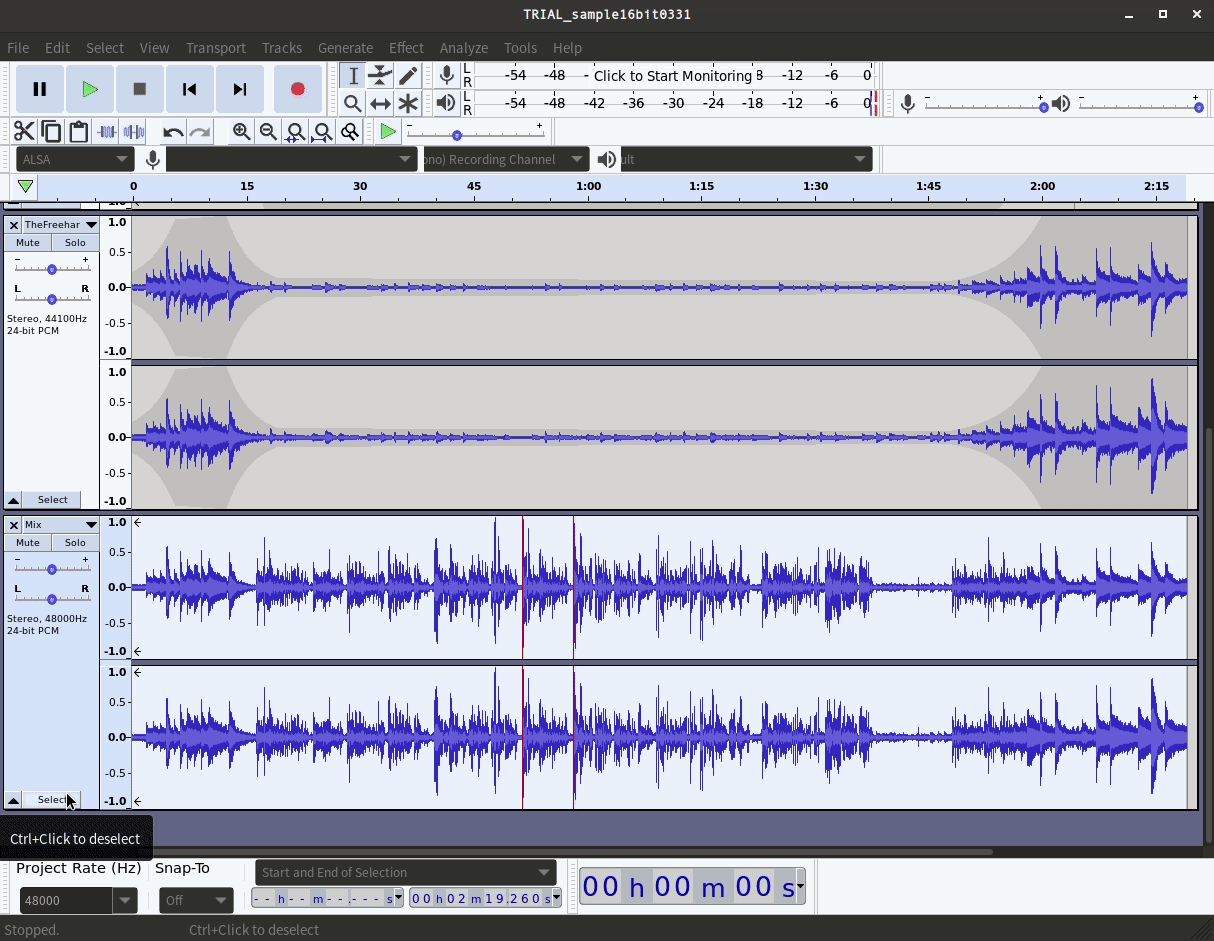
When I am done with cleaning and editing, I will prepare to mix the tracks and export them. As more tracks are added into the Audacity project, I will need to be mindful of the total volume of the entire project. Since sound is additive, the more tracks in the project the louder it will be. Hence, while it may not reach the maximum limits on each track when it is played individually, the final project might still clip when the tracks are played all together. Hence, before I conduct a final mix and render, I check my playback.
If I hear clipping during the playback (usually sounds like distortion), I will then make some adjustments. I may need to change the gain of all the tracks, or just one – this depends on the project. A quick way to lower the volume of a single track is to lower the gain of that track using the slider on the track control panel. Double-clicking on the gain slider will open up a dialog box that allows for finer adjustments.
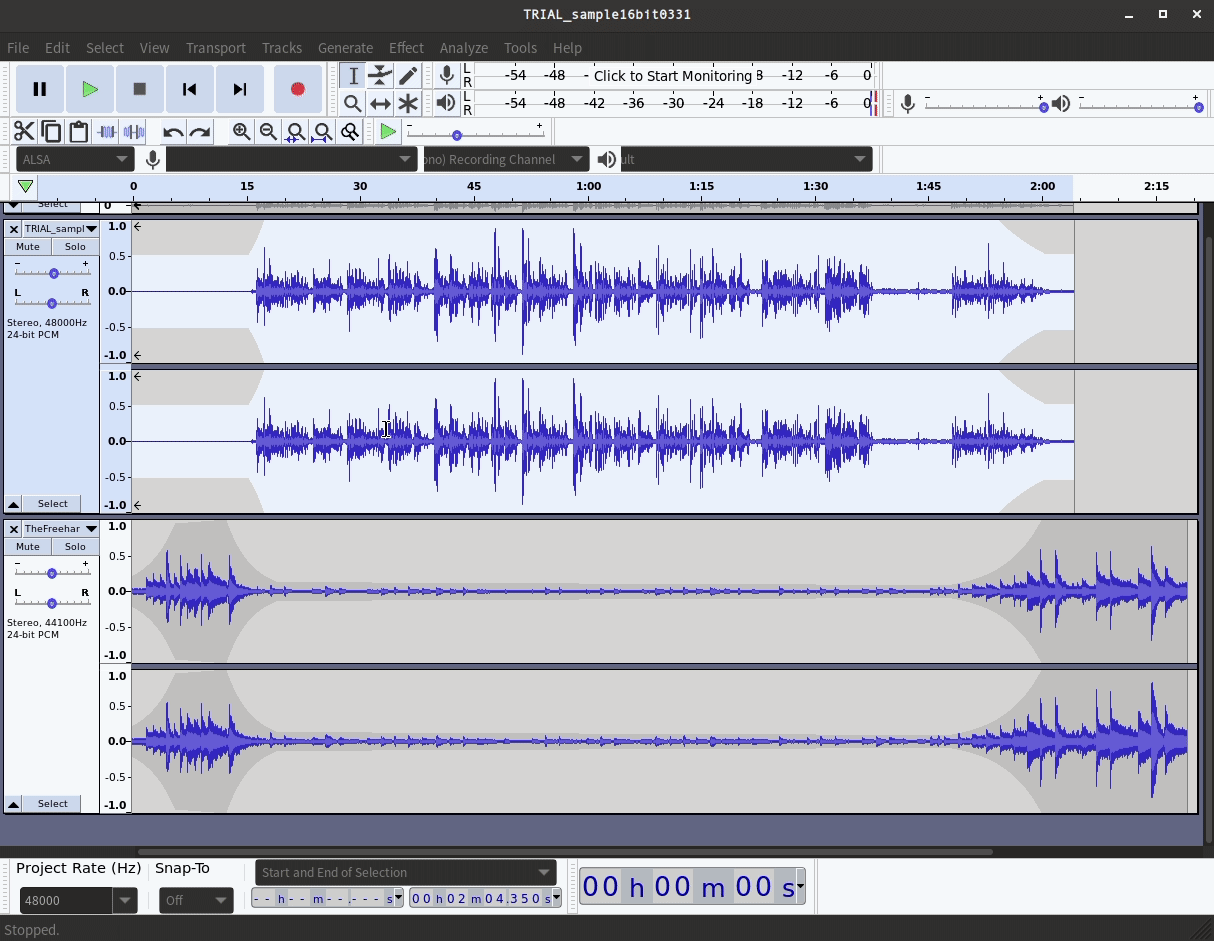
When I’m ready, I select the tracks (Ctrl/Cmd + clicking the “Select” button) I would like to include in my final version of the file. The tracks are selected when the track selection panel turns blue (unselected tracks are indicated in grey). I usually choose the Mix and Render to New Track (Tracks > Mix > Mix and Render to New Tracks) just to be safe. Mix and Render will overwrite tracks, so if you are choosing this option, be really certain that you will not be making any more edits.
The final step is to then export the project to a common audio file format. If you’re planning to stream your audio file, saving it in a compressed file format (e.g. .mp3) is the best option. If you’re planning to archive your audio file, an uncompressed file format is a better choice. You can either export your whole project or just the selected tracks. As I have already mixed and rendered the final track, I will just export that track as the final audio file. For your project, select the track (“Select” button on the track control panel) and choose how you would like to export your file (File > Export > Export Selected Audio).
Congratulations! You’ve successfully imported, cleaned, edited, mixed and exported your project. I hope that this provided you with a place to begin with exploring Audacity and playing with your audio data.

This entry is licensed under a Creative Commons Attribution-NonCommercial-ShareAlike 4.0 International license.


