Introduction
Omeka is a free Content Management System (CMS) used to create a searchable online database of digital archival items such as images, audio, and video files. It allows you to describe the items according to academic archival standards, import and export that descriptive information from other systems, and to create as many interpretive online exhibits as you like from those items.
Think of the way a museum works: all the museum holdings are divided into collections, only some of which is publicly displayed and interpreted by plaques and labels written by museum curators. CMS work like that. Some large institutions, such as the New York Municipal Archives or the Metropolitan Museum of Art, rely on all-encompassing CMS, such as DSpace and Fedora. They are robust infrastructures able to manage an extremely vast amount of data and to serve a number of purposes, such as automate and manage collections-based tasks and workflows, and facilitate communication between museum staff. In such large settings, Omeka can still be of use: for example, it allows you to import collections from these larger (often expensive) platforms and make them accessible and available on the web. In order to do this, it relies on Dublin Core, a Metadata Standard set that makes linked open data possible and collections more discoverable. In other words, through Dublin Core, Omeka and the databases on which it relies are able to talk to one another.
In other cases, however, Omeka can function as a stand-alone lightweight CMS with the capacity for greatness. For people who have never worked in collection management, Omeka can be an entryway to learn the basics of cataloguing and digital archival work. Omeka’s content can be moved between platforms and requires a fairly small set of metadata criteria to catalogue its collections. Let's look at some examples.
Sample Sites
-
The City of Boston archives is an excellent example of an Okema website in which a selected set of data from a larger database, most likely managed by a different CMS, was imported. The City of Boston archives relies on the basic functions of Omeka that we are going to explore today to catalogue and display a set of items, sort them into collections, and use them to tell stories in the form of digital exhibitions.
-
Colored Conventions is a website that uses Omeka a stand-alone CMS and fully takes advantage of the platform's potential. This collaborative project aims to collect rare proceedings, newspaper coverage, and petitions from state and national political meetings of once captive Black people between 1830 and 1890. Colored Conventions is also a great example of how Omeka and digital archiving can work as pedagogical tools. It received awards from the MLA, ASA, and PCA/ACA along with grants from the NEH, Mellon Foundation, and CLI.
- East Bay Punk Digital Archive The East Bay Punk Digital Archive (EBP-DA) is a project spearheaded by Stefano Morello and funded by the Digital Initiatives, Lost & Found, and the New Media Lab at The Graduate Center, CUNY. It aims to preserve and make available – to researchers, subcultural participants from around the world, and a general public unfamiliar with the topic – the subjugated knowledge produced by participants in the punk-rock commons that loomed in and around the San Francisco Bay Area between the early 1980s and the mid-1990s.
Omeka VS Omeka.net
Omeka is NOT desktop software that you install on your own machine, it’s what’s called “server-side software.” Think, for example, of the difference between Microsoft Office and Google Suite. Whereas the former in installed on and ran by your own computer, the latter is installed and ran on a remote machine (a server) to which you (and other users) have access through the internet.
There are two ways to use Omeka: you can download a free, open-source version of the server-side software at omeka.org, or, if you don’t have server space or would just rather not deal with it, you can sign up for free or paid “hosted” versions at Omeka.net.
For practical purposes, we will make use of the latter during this workshop. Despite having a limited set of functionalities, Omeka.net operates in the same way as the self-hosted version.
Today’s Exercise
We are going to create and populate a database with artifacts from B. Altman’s & Co., the department store that until January 1990 resided in the building that now houses CUNY's Graduate Center. We are then going to create a sample exhibition that uses the items in our collections to tell the story of the store in the first two decades of the 1900s.
Theoretical Concerns
Before we engage with the creation of our Omeka database, let’s take a few minutes to think about the conceptual concerns that we have to face when engaging with digital archival work.
We encourage you to discuss these short and long term concerns with librarians and archivists in your field. It is often crucial to tackle and think through these issues before you start working on your project and uploading items to your Omeka site, as they might influence the shape of the technological infrastructure you are developing.
- Metadata standards
Metadata is data about data, or information about an item. It includes the documentation of data architecture, properties, and methods necessary to store, retrieve, and use the data in a meaningful manner. For example, bibliographic metadata is the title, author, publisher, date and so on of a publication. Omeka encourages you to describe every item with lots of metadata, which is part of what makes it a scholarly system. By default, Omeka relies on Dublin Core, a metadata standard used by libraries and archives for digital items that consists of 15 basic fields that can be used to describe any digital object, no matter what it is. Such basic fields include Creator, Subject, Description, Date, Rights, and so on.
Example: http://coloredconventions.org/items/show/278
Beware: Doublin Core is not the only metadata schema. Different catalogues, archives, and fields of inquiry rely on different standards. The way in which you’re describing your items should reflect the way you want your catalogue to interact with the world and the way you want it to be interpreted.
Omeka does also allow additional standard metadata fields and custom metadata fields, but this may make it more difficult to transfer your data to and from Omeka and other systems, since these systems need a shared vocabulary to “talk” to one another. The fact that Omeka is built on Dublin Core means that your data is likely to last longer, because it can be moved to other systems later. There are prompts built in to Omeka that will help you understand what information to put in every Dublin Core field, but you can also consult the Dublin Core User Guide section on Creating Metadata.
In addition to selecting a metadata standard or schema, whenever possible you should also use controlled vocabularies. A controlled vocabulary provides a consistent way to describe data. Examples of controlled vocabularies include subject headings, thesauri, ontologies, and taxonomies. Using a controlled vocabulary will aid in searching and finding your data and will make it consistent and more shareable with researchers in the same discipline. In Omeka, you can build your own controlled vocabularies or use the standards suggested by DublinCore. Keep in mind that even if you're not using a controlled vocabulary, you should be as consistent as possible with your metadata. For example, if you use “New York, NY” in the Coverage field, make sure you follow the same City, State format when compiling the same field for other items.
- File formats standards
- Informational architecture of your website
- Discoverability
- Accessibility
- Rights and permissions
- Sustainability
- Ongoing guardianship
- Preservation
As you can see, there is a fair amount of work that goes into designing your project, before you begin uploading your material!
Getting Started with Omeka.net
Omeka is a simple, free web publishing system built by and for scholars that is used by hundreds of archives, historical societies, libraries, museums, and individual researchers and teachers to create searchable online databases and scholarly online interpretations of their digital collections. If you have a digital collection of primary sources that you want to publish online in a scholarly way, you’ll want to consider Omeka.
For the purpose of this workshop, we are going to take Omeka for a test run by registering a free account on (http://www.omeka.net "Omeka.net").
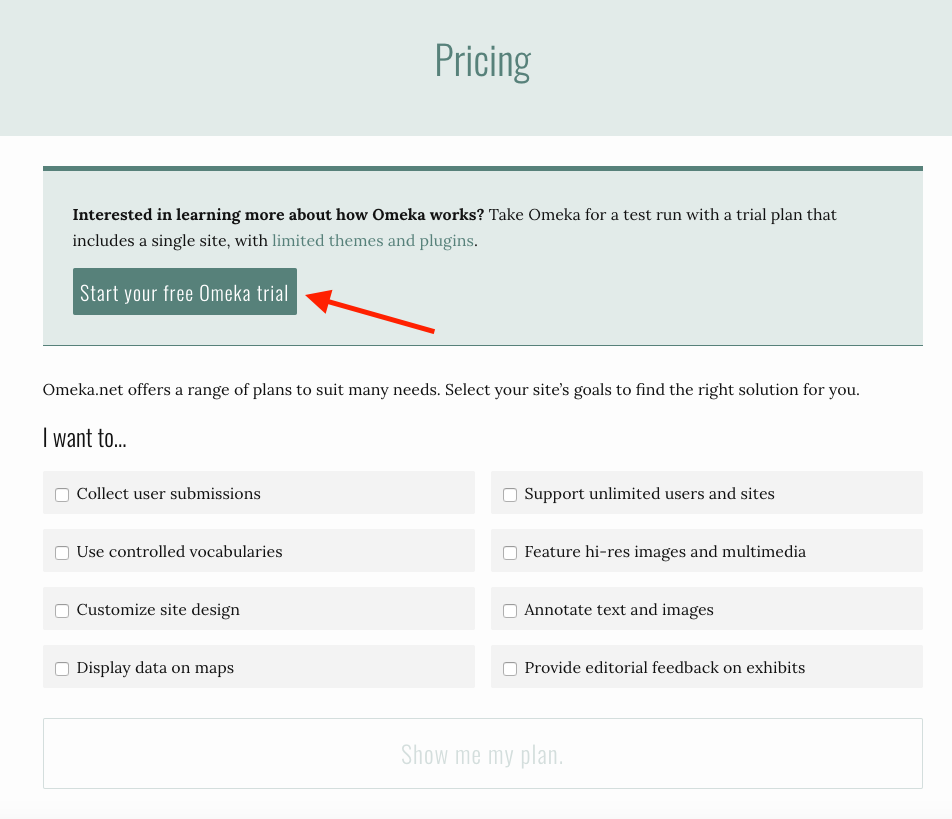
Go to (https://www.omeka.net/signup#), and click on Start your free Omeka trial.
Once you have filled out and submitted the form, check your email for an activation link. If you don’t get the email, check your spam folder.
Please make sure you are able to log into your account, and that you keep login information handy in view of the workshop.
Create an Omeka Site
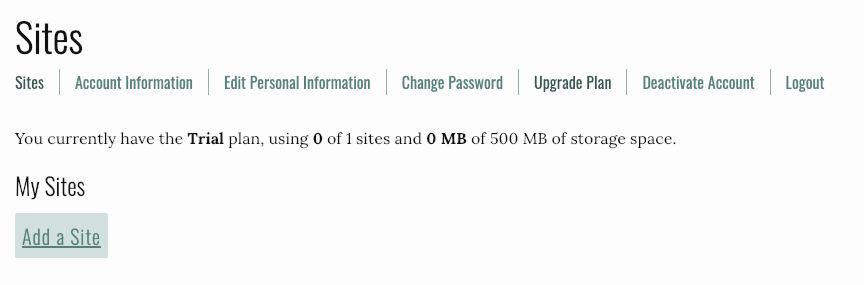
Log into your Omeka.net account. From your account click on Add a Site.
Give your website a subdomain name, a title, and a description.
Subdomain name: [Choose Your Own]
Site title: B. Altman & Co.’s Archive
Site description: The B. Altman & Co.’s Archive collects documents, images, videos, and other digital artifacts relevant to the history of the department store founded by Benjamin Altman in 1865 in New York City.
Click on Add Your New Site.
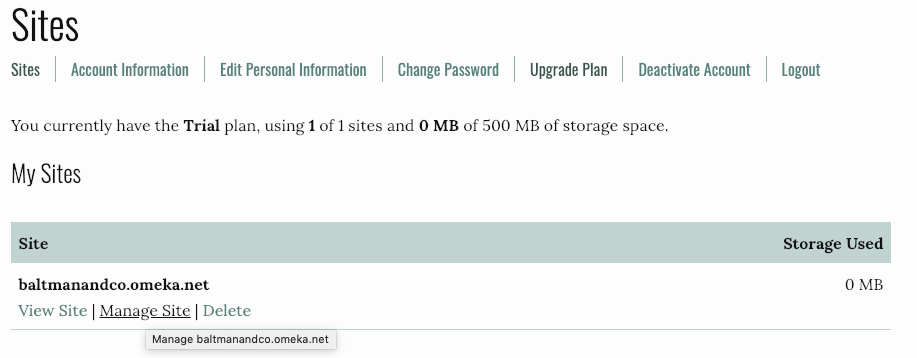
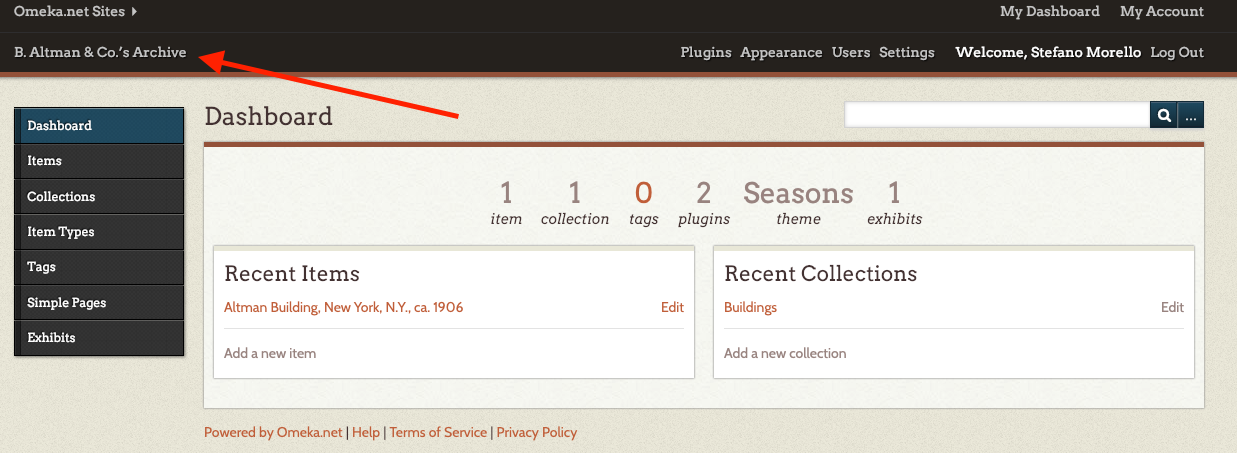
When your confirmation page loads, go back to your account and click on Manage Site to access your website’s dashboard.
If your site was a restaurant, this would be the kitchen. In other words, this is where you will create and organize all of the content that is presented on your site. Only authorized users can access the backend of your site.
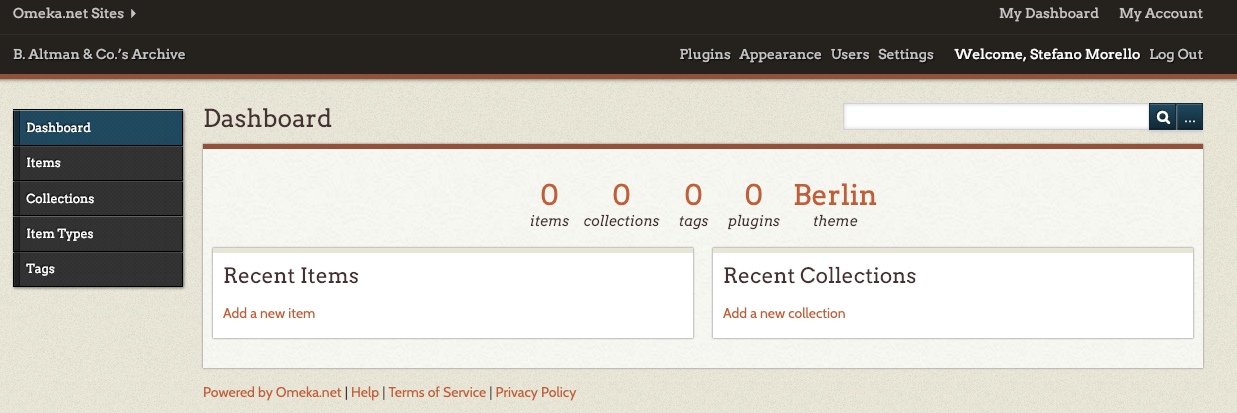
You have two menus in your dashboard. One on the left that allows you to create and edit content; and one on the top right, which allows you to deal with the structure of your website. Let’s begin with the latter.
Themes and Plugins
One of the most powerful aspect of Omeka is that, not unlike Wordpress, it’s extensible and modular. Themes change the look and feel of Omeka, while plugins change what Omeka is capable of doing.
Themes
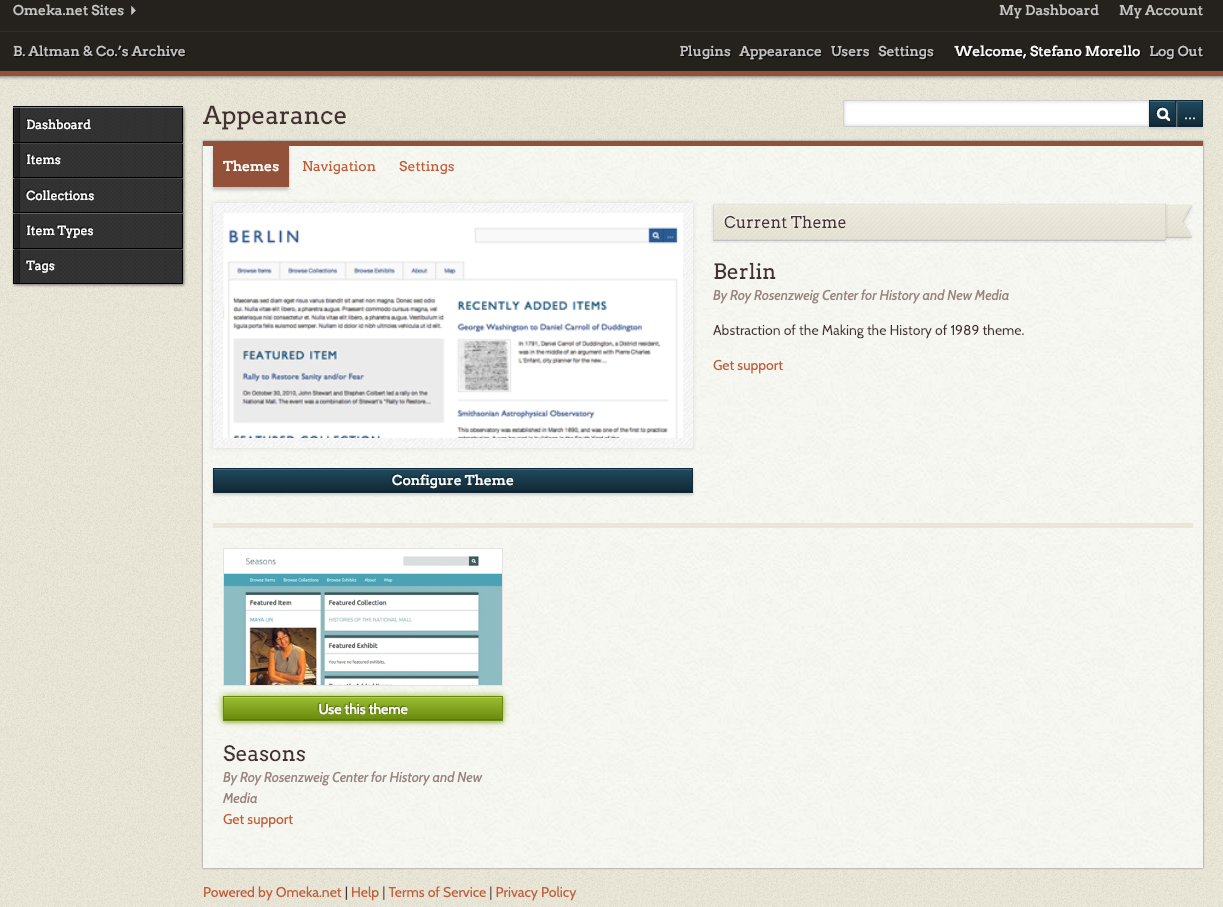
Themes control the look and feel of your Omeka site: the color, the font, the layout. There are (currently) two themes included with the free basic plan for hosted Omeka sites; these themes can be configured to some extent with custom banner images and different colors and so on. There are more than a dozen themes for self-hosted Omeka sites. You can also design your own theme for Omeka, as many of the larger and more advanced Omeka sites, such as Colored Conventions, do.
From your dashboard, visit your site by clicking on the site title in the top left corner.
This is what your website looks like by default.
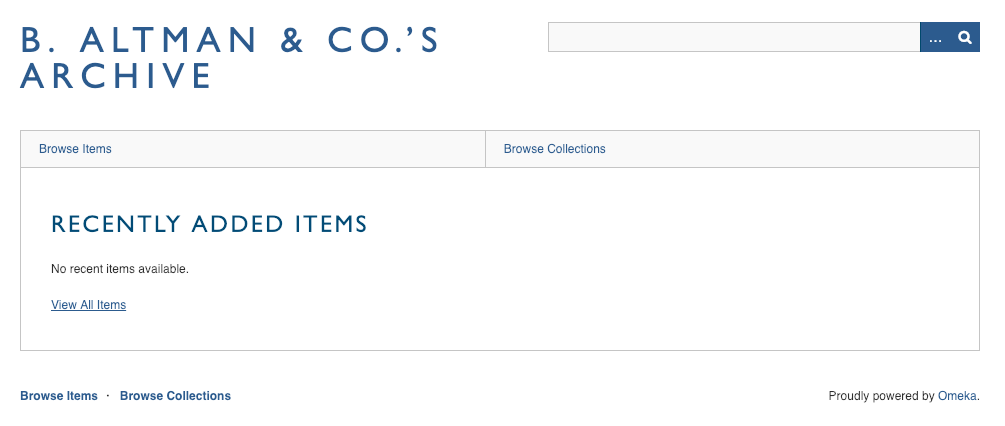
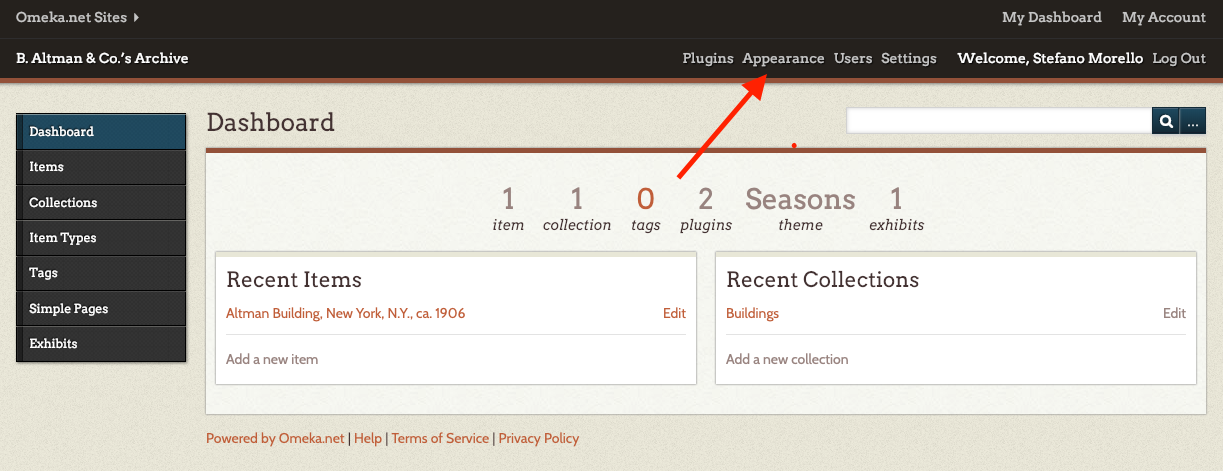
Let’s try to change it. Return to your dashboard and click on Appearance.
Click on Use This Theme to activate the Seasons theme. From this page, under the Navigation and Setting tabs, you’ll also be able to make some minor tweaks to the look of your website.
Plugins
Like themes, plugins are separate “add-ons” to Omeka, but whereas themes change the look and feel of an Omeka site, plugins change the functionality of an Omeka site — they change what it can do. There are (currently) twelve plugins packaged with the free Basic plan on Omeka.net, but there are more than 50 cool plugins for the self-hosted version of Omeka listed at Omeka.org/plugins that do everything from enabling anyone on the web to contribute items to your archive (with the Contribution plugin) to tweeting out an announcement whenever a new item is added (with the Tweetster for Omeka plugin). Some of these plugins are developed by the Omeka team at RRCHNM, but a lot of them are developed by people who are customizing Omeka for their own purposes and contributing their code to the larger community.
Sample Pages Plugin
Let’s try and activate the Sample Pages plugin, which allows you to create static web pages on your Omeka website. Click on Plugins, scroll to the bottom of the page and click on Install to activate the Simple Pages plugin.

You’ll notice that a Simple Pages link appeared on the left hand side menu. Click on it to add or edit your static pages. Upon activating it, the plugin automatically creates an “About” page that we are now going to edit.
From the Simple Pages menu, click on Edit.
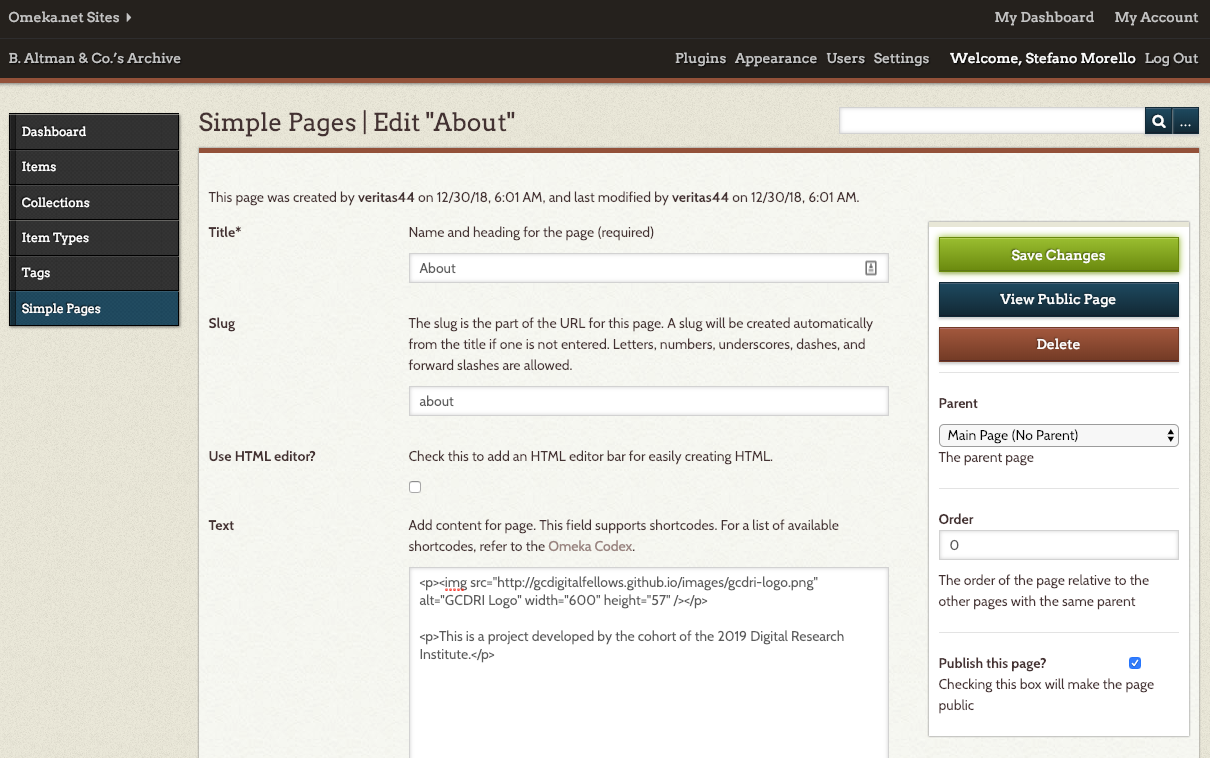
You can use HTML to customize your static pages. For example, by copying and pasting the below.
<p><img src="http://gcdigitalfellows.github.io/images/gcdri-logo.png" alt="GCDRI Logo" width="600" height="57" /></p>
<p>This is a project developed by the cohort of the GC Online Summer Institute 2020.</p>
If you are not familiar with HTML, the same result can be achieved by using the visual HTML editor, that functions similarly to a Word Processor software.
Click on Save.
When you visit your website, you’ll notice that, in addition to the previous sections, you can now find a new link in your menu.

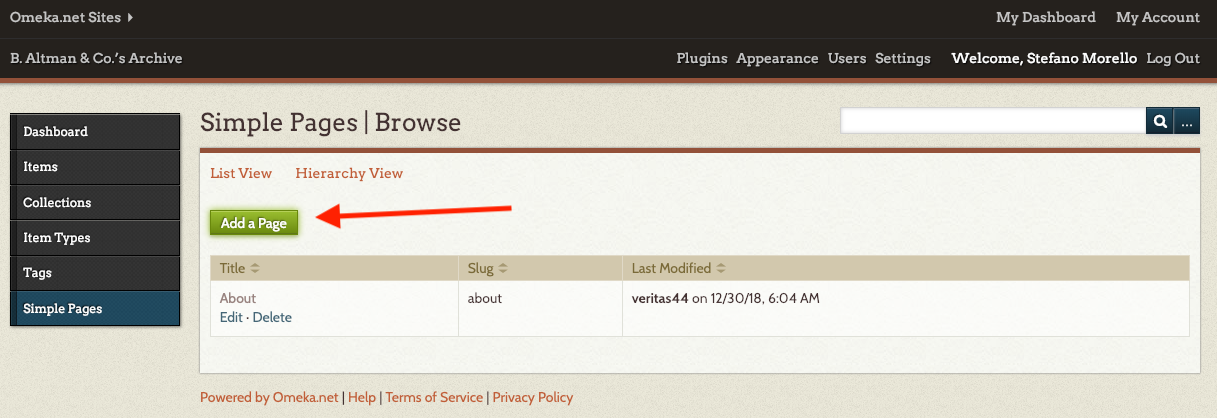
Let’s now try and add a subpage. Click on Simple Pages in your left menu again; then, on click on Add a Page.
Our new Team page is going to live under the About page. On the right hand side, make sure you select the check box “Public” and the About page as a “parent” page. Try to activate and use the HTML editor bar to create and format content for your page this time.
Workshop leaders: Stefano Morello, Kirsten Hackett.
Participants: 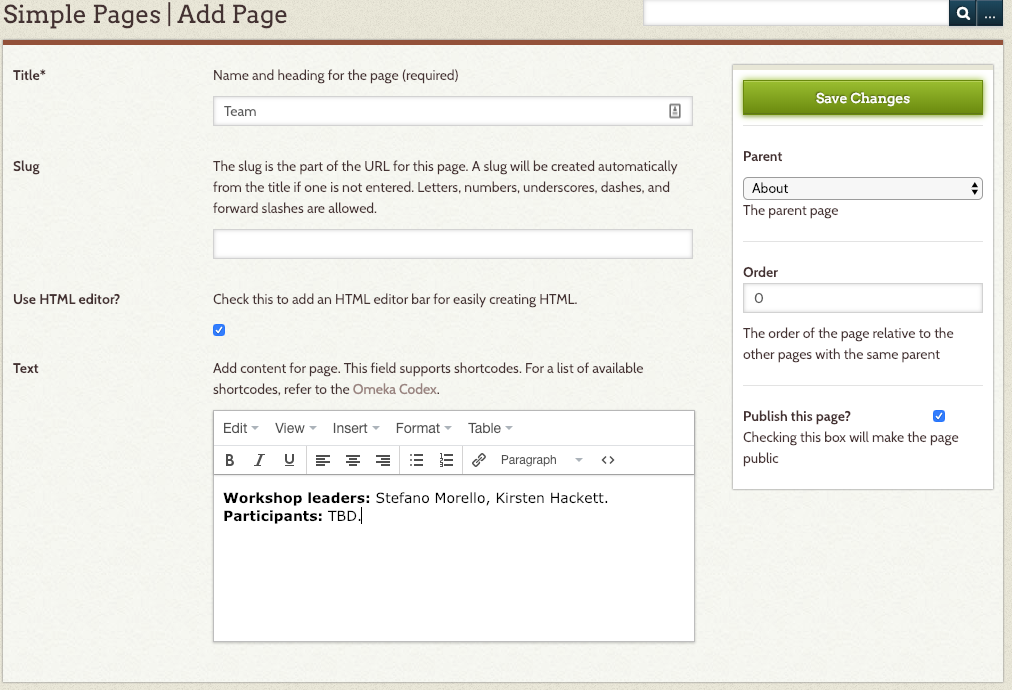
Click on Save Changes.
Please Note: If using the self-hosted version of Omeka, you'll be required to download from the web and upload on your server the plugins and themes that you want to use on your website.
One more thing...
There are two more options in the top right menu that we need to explore. One is Settings, from there, you can change your site information (title, description, etc.), and the other one is Users. You can add as many users as you like to an Omeka site, even when you only have a free Basic plan on omeka.net. You can add users in four roles:
- Super – can do everything
- Admin – can do everything with items and exhibits etc., but can’t access Settings
- Contributor – can add items and create exhibits, but can’t publish them, and can’t modify items added by other Contributors
- Researcher – can only see items, but can see all items, including private items that aren’t published to the web. Note that all items you add to Omeka are private by default; you must deliberately check a checkbox in order to publish an item to the web. This is useful when you want to include an item in your archive but don’t want to publish it to the web, as for instance when the copyright status of an item is unclear. Users who are logged in can see both private and public items (explain difference) in Omeka, so the “Researcher” role allows you to let selected individuals see but not edit your items.
Add an Item
An “item” is the basic unit of an Omeka site. It might be a photograph with a single attached image file, a three-page letter with three attached image files (one for each page), or a record with no attached files (such as a “person” record). Omeka can handle all the major digital file types for documents, images, audio, and video; audio and video files display as an embedded Quicktime player so that the user can listen or watch.
Let’s try and add a few items together.
Add a Still Image
We are going to start with a picture of the B. Altman & Co. headquarter on Fifth Avenue. Click here and download the file to your desktop.
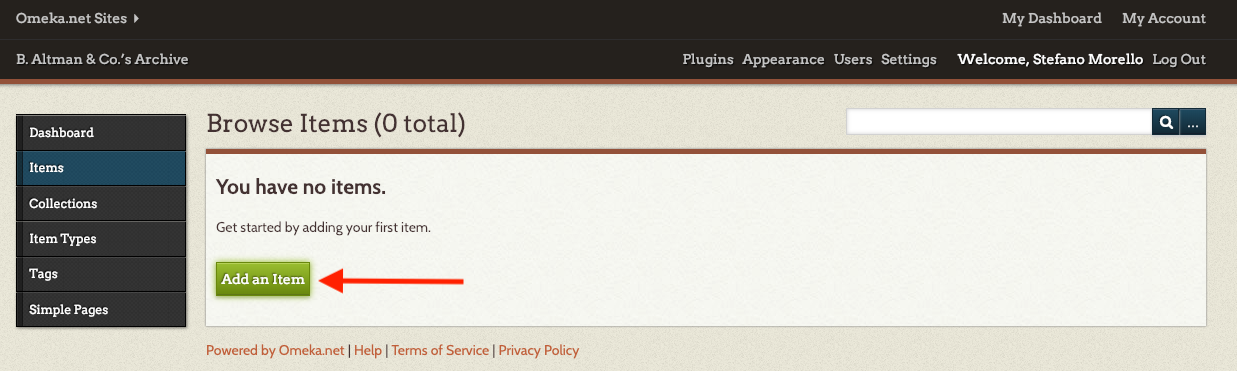
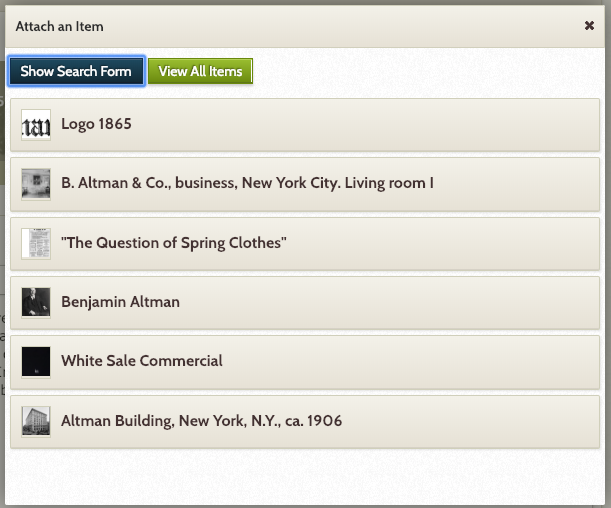
From your site's dashboard, click on Items to access the Items menu, then click on Add an Item.
The first thing we need to do is compile the metadata for our item. We saw that metadata is information about the item necessary to store, retrieve, and use the data in a meaningful manner. Here’s an example of how we would fill out the fields for this item.
Title Altman Building, New York, N.Y., ca. 1906
Subject B. Altman & Company, Department Stores
Source Detroit Publishing Co., Publisher. Altman Building, New York, N.Y. New York New York State New York. United States, ca. 1906. Photograph. https://www.loc.gov/item/2016795056/.
Publisher Detroit Publishing Co., publisher
Date 1906
Rights No known restrictions on publication.
Relation Detroit Publishing Company photograph collection (Library of Congress)
Identifier http://hdl.loc.gov/loc.pnp/det.4a1381
Coverage 365 5th Avenue, New York, NY, United States
On the right hand side box, you'll have the option to make the item “Public” or “Featured.” If we check the “public” box, the item will be accessible through your public facing website. Otherwise, only authorized users will be able to see it in the dashboard. On the other hand, Omeka sites by default have a space on the home page for “featured” items that are particularly interesting. You can mark items as “featured” when you add them to your database or afterwards. If you website has more than one featured item, it will load a new one randomly when the site is refreshed.
Let’s now move on to the second tab Item Type Metadata.
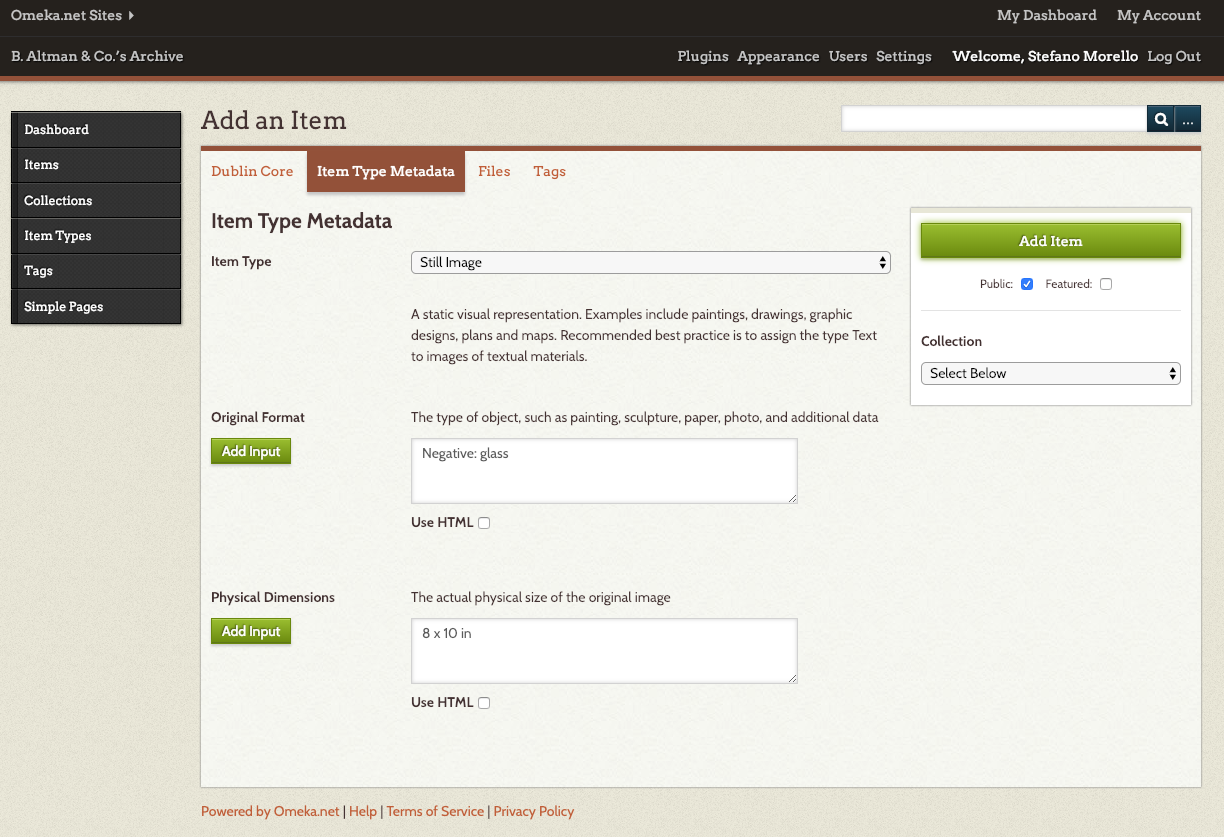
By default Omeka offers 12 types of items, including “Document,” “Still Image,” “Sound,” “Moving Image,” “Person,” and more. You can also define custom item types, perhaps something like “Coin” or “Poem” or “Quilt,” and you can define custom sets of metadata fields to go with those item types. For instance, if you define the item type “Poem,” you might define a metadata field such as “Rhyme Scheme” where you can enter that information (such as A’bA” abA’ abA” abA’ abA” abA’A” for a villanelle). Be aware, though, that creating custom item types and metadata fields may make it more difficult to exchange data between your Omeka archive and other existing systems.
Because our file is a Still Image, we’ll be prompted to enter the following information:
Original Format: Negative: glass
Physical Dimensions: 8 x 10 in
The File tab allows us to add one or more files to the record we are creating. In this case, we just want to upload the one picture of the Altman building that we downloaded.
Finally, Tags allow you to link items together with terms of your choosing. When any two items have the same tag, the tag automatically turns into a link. Omeka sites allow you to browse items by tag. We are going to link together a set of items that relate to the Fifth Avenue Store, so we can use the tag “fifthavestore.”
Click on Add Item to save and... congratulations! You’ve created the first item on your site!
Add a PDF File
Let’s now try with a PDF document. Click here and download on your desktop this advertisement for B. Altman & Co. ran by The Sun in the spring of 1918.
We are going to follow the same steps as we did for the photograph of the Altman building.
From the Items menu, click on Add New Item. Compile the metadata for the item as follows.
Title "The Question of Spring Clothes"
Subject Spring Clothes Advertisement
Description Newspaper Ad published on The Sun in the spring of 1918
Creator B. Altman & Co.
Source Chronicling America Publisher The Sun, March 03, 1918, Page 4, Image 4
Date March 3, 1918
Contributor [no text]
Rights No known restrictions on publication.
Format Newspaper
Language English
Identifier https://chroniclingamerica.loc.gov/lccn/sn83030431/1918-03-03/ed-1/seq-4/
Coverage 365 5th Avenue, New York, NY, United States
In the Item Type Metadata tab, select Text from the dropdown menu and compile the additional metadata information for the document. Adding the transcription of your document to the text field, will make its content searchable through Omeka's internal search function.
Text:  THE QUESTION OF SPRING CLOTHES is infinitely more momentous in times of war than In times of peace. Selections must be made with more forethought, with more discrimination, with more regard for suitability and wearing quality. Moreover, in war times women are very busy folk, with less leisure than usual to bestow upon matters of dress. With all these important details In mind, B. Altman & Co. have given even more than ordinary care to the assembling of the new things for Spring. Clothes are, if anything, rather smarter this season than last ; and the smartest of them all are ready for selection here. Women, misses, children and the tiniest folk have all been cared for; and there are, besides, just the clothes that boys and young men will want to wear, as well as the latest styles In furnishings for men.

Original Format: Paper
In the File tab select 2.pdf from your desktop.
Since this ad pertains only to the store on 5th Avenue, we are also going to assign the Tag fifthavestore to this item.
Click on Add Item to create your item.
Challenge
You can now try and create a few items on your own. You will find the metadata in the txt files with the name, but feel free to consult the Doublin Core Metadata Element Set guide and think through your own metadata as you go.
Solution
Collections
Collections are ways of organizing items, rather like file folders on your computer, or like collections in archives such as “Papers of William Faulkner, 1929-1965” in the Special Collections of the University of Virginia. Collections provide a way to organize your items into separate, logically coherent groups. Items do not have to be in collections, but in Omeka Classic once an item is in a collection, it can’t be in any other collection. You can make as many links as you like between items in different collections, though, with tags and exhibits.
Example: cityofbostonarchives.omeka.net/collections
Create a Collection
We are now going to create three collections (“Advertisements,” “Buildings,” and “Misc”) and add the items we just created to them.
To create a collection, click on the Collections link on the left menu, then on Add a Collection. You’ll be prompted to enter metadata for your collection, which consists of information that pertains to all the items in it. For example, unless you are facing the unlikely scenario where all the items in your collection were created in the same year, you're going to want to leave the date field blank, or enter a time-span that ranges from your earliest date to your latest date.
Once you’ve entered title and metadata for your collection, click on Add Collection. Repeat theses steps for the other two collections.
Add Items to a Collection
We can now return to the items we’ve previously created and add them to our collections.
Let's start with the Altman Building. Click on Items, identify the item “Altman Building, New York, N.Y., ca. 1906”, click on Edit, select the collection “Buildings” from the dropdown menu on the right, and click on Save Changes.
Now try and add the rest of the items to the other collections we created!
Advertisements:
"The Question of Spring Clothes"
White Sale Commercial

Misc:
B. Altman & Co's logo (1865)

Buildings:
Altman Building, New York, N.Y., ca. 1906
For future reference: remember that if a collection already exists when you create an item, you can add it as you create it.
Create an Exhibit
Exhibits are the most obvious place for interpretation, or where the scholarly rubber hits the Internet road, as it were. Once you have built an Omeka archive with enough items, you can then use exhibits to interpret those items for the online public. Think of exhibits in a museum: a large museum may own 100,000 items, but at any one time only perhaps 1,000 of them are on display, and a single exhibit may have only 25 or so items. These items have been carefully chosen and arranged by curators, who also often write interpretive text for panels mounted on the wall and for the exhibit’s official catalog. You can also think of Omeka exhibits as multimedia essays created using the items in your archive. Many websites about scholarly or quasi-scholarly topics often decontextualize the images and documents they display, and the reader who wants to know where a particular image came from may be out of luck. This never happens with Omeka exhibits, because any item displayed in the exhibit can be clicked on, and the reader will be taken to the item record with its full complement of Dublin Core metadata.
Example: This exhibition makes use of both items in the database and external resources to tell the story of Henry Highland Garnet and his famous "An Address to the Slaves of the United States."
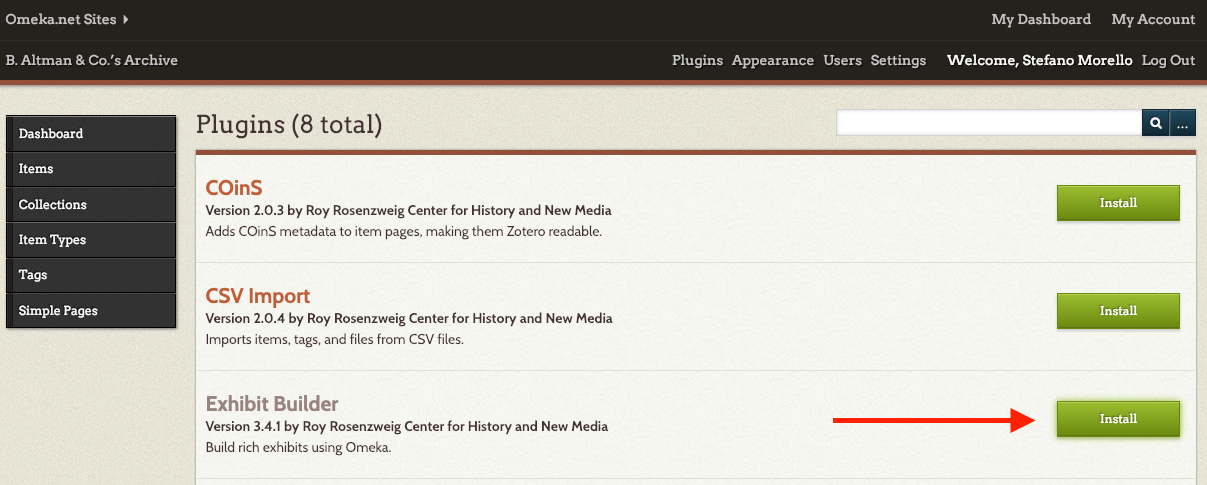
Activate Plugin
To build an exhibition, we first need to install the Exhibit Builder plugin. The Exhibit Builder plugin allows you to develop online exhibits, or special web pages, that combine items from your Omeka archive and may include narrative text. From your dashboard, access the Plugin menu to activate it.
Create an Exhibit
Click on the Exhibits link in the left menu. From there, click on Add an Exhibit.
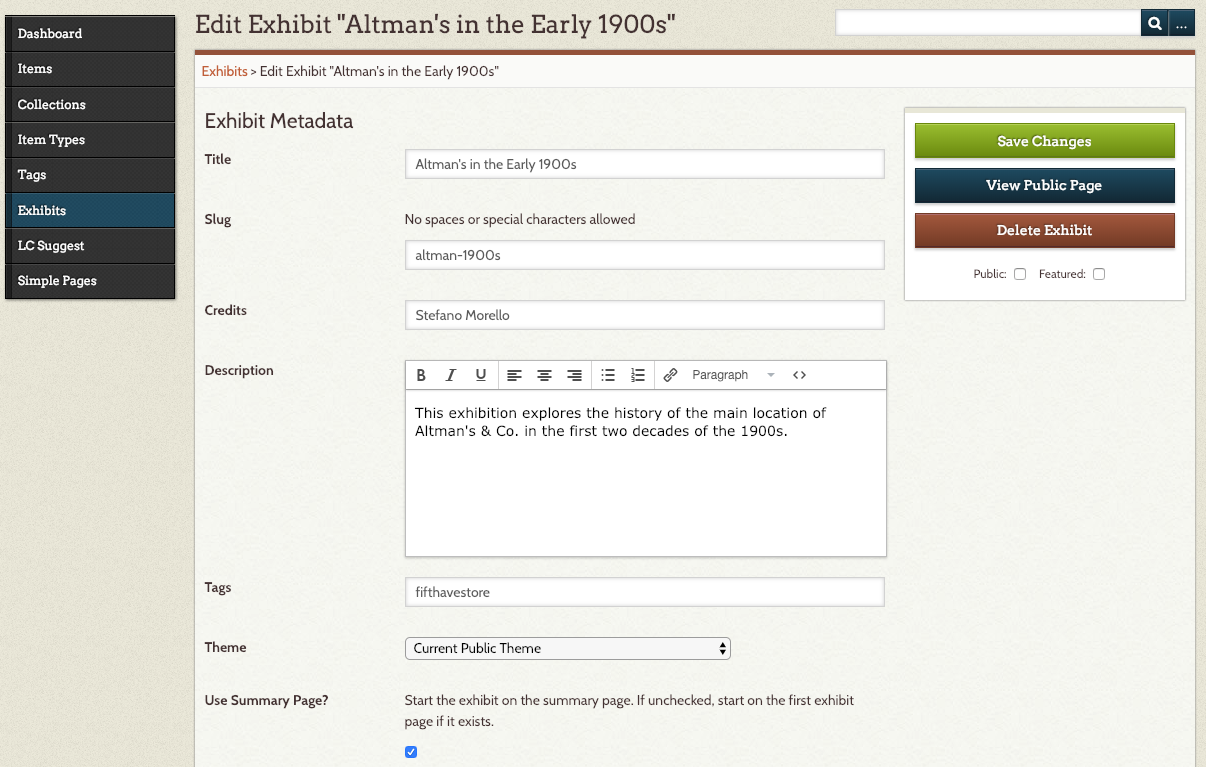
You'll be prompted to enter the following information:
Title: Altman’s & Co. Before 1920.
Slug: altman-department-stores-before-1920
Credits: [Your Name]
Description: This exhibition explores the history of the main location of Altman's & Co. in the first two decades of the 1900s.
Tags: fifthavestore
A “slug” is the user friendly and URL valid name of a dynamic Omeka page. The most common usage of this feature is to create a permalink for each page. Omeka automatically generates post slugs from a post’s title, or we can tweak it according to our needs.
Just like with items and collections, you can also set your exhibits as public/private and/or featured. Click on Save Changes to change your exhibition. Below is what your exhibit's main page is going to look like.
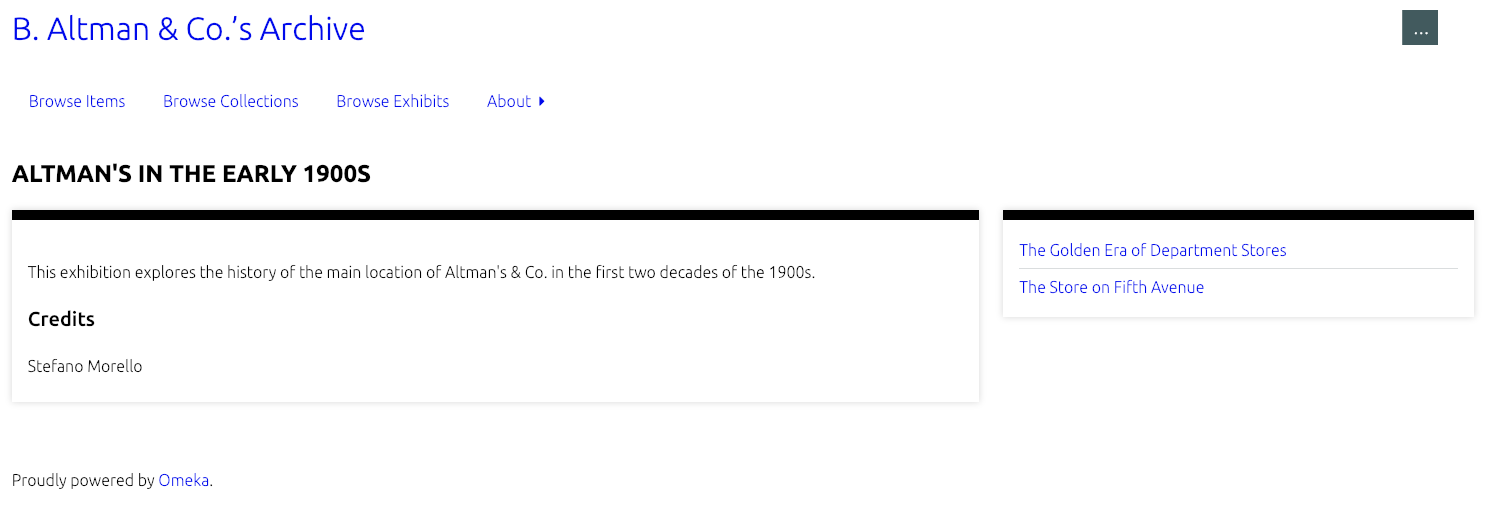
Omeka allows us to create custom layouts for our exhibition pages. Now that we created our exhibition, let’s add a couple of sample pages to it.
Add an Exhibit Page
We want our first page to provide a brief overview of Altman & Co's. Scroll to the bottom of your exhibit’s page and click on Add Page. After entering some basic information, such as a title, a link menu title (the text we want to appear in our exhibition menu), and a page slug, we’ll be able to fill the page with content from our database (and beyond).
Page Title: The Golden Era of Department Stores
Menu Link Title: The Golden Era of Department Stores
Page Slug:
Pages are made up of combinations of smaller content units called 'blocks.' There are four basic kinds of blocks: item(s) with text, an item gallery, text only, and file only. Each page can have one or more content blocks.

The File with Text block allows you to pair fullsize or thumbnail files of your items with a block of text. The Gallery block creates a gallery of item files, generally large square thumbnails. You can add text to the gallery, which will display left or right of the gallery. The Text and Image blocks allow you to display an item or create a section of text which spans the width of the entire page.
For our first block, select File with Text and click on Add New Content Block.
Click on Add Item and select the B. Altman & Co’s 1865 logo from our “Misc” collection.
You'll be prompted to add a caption for your item, it can be something like “B. Altman & Co’s first logo.” Click on Apply.

We are going to accompany this item with a brief overview of Altman’s early days. We are going to copy and paste the below in the text box.
The store that would become B. Altman and Company began on Manhattan's Lower East Side as a family-owned store, which by 1865 had come to be solely owned by Benjamin Altman, one of the brothers in the family, and was located at Third Avenue and 10th Street. In 1877, the store, wanting to expand, relocated to 621 Sixth Avenue between 18th and 19th Streets. The second block is going to feature the Altman’s Fifth Avenue building.
To add our second item, click on File with Text, then Add New Content Block. Click on Add Item and select the 1906 picture from our “Buildings” collection. Our caption can be: "The building at 361 Fifth Avenue (at 34th Street)."
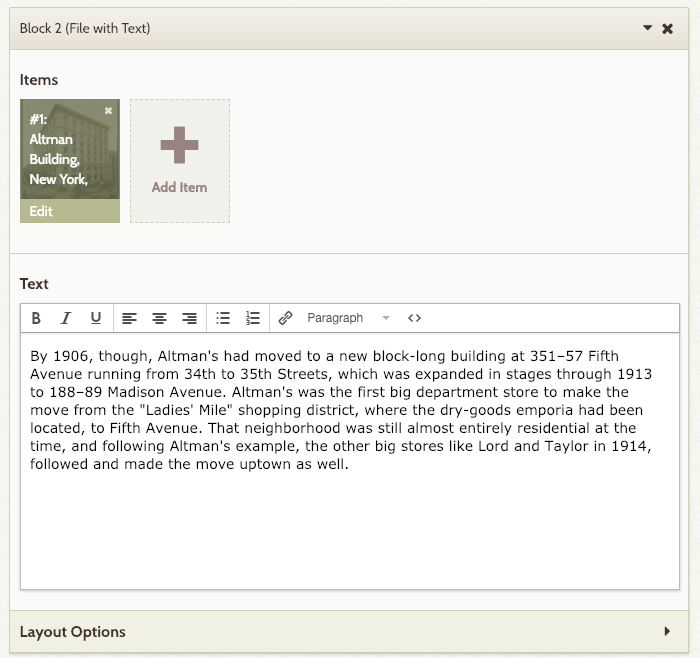
In the text box, we are going to narrate the story of the move to the building.
By 1906, though, B. Altman's had moved to a new block-long building at 351–57 Fifth Avenue running from 34th to 35th Streets, which was expanded in stages through 1913 to 188–89 Madison Avenue. B. Altman's was the first big department store to make the move from the "Ladies' Mile" shopping district, where the dry-goods emporia had been located, to Fifth Avenue. That neighborhood was still almost entirely residential at the time, and following Altman's example, the other big stores like Lord and Taylor in 1914, followed and made the move uptown as well.
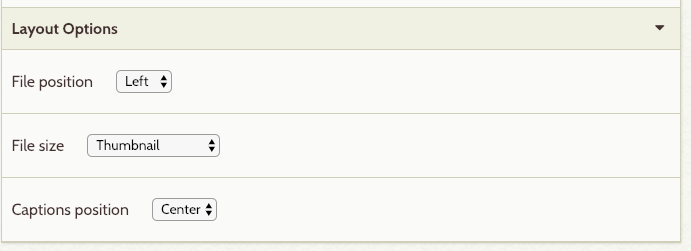
The Layout Options menu allows us to further customize the way our page looks. For example, we can select the position and size of the item on the page.
When you are done with this page, click on Save Changes.
Omeka Classic, Omeka.net, or Omeka S?
Because some organizations and individuals couldn’t or didn’t want to run their own server or buy commercial server space, RRCHNM began developing a hosted version of Omeka that requires much less technical knowledge, infrastructure, and labor. Omeka.net is the hosted version of Omeka. The free, open source, downloadable version of Omeka is available at omeka.org. This version of Omeka is self-hosted software that can be installed on a web hosting server (not on your personal computer, at least not unless you’re willing to install a virtual server on your PC). Librarians or educational technologists at your institution may be happy to install and maintain Omeka for you on an organizational web hosting server; if you’d like to buy commercial web hosting for less than $100 per year and teach yourself to use it, you can check out the Omeka team’s hosting suggestions. The Digital Fellows are also happy to help you make an informed decision on your web hosting options.
When considering whether to use the hosted or the self-hosted version of Omeka, you will want to keep in mind the useful lesson from Spiderman: “With great power comes great responsibility.” Concomitantly, of course, “with less responsibility comes less power.” In other words, when you download Omeka from omeka.org, you can customize it as much as you want and install it as many times as you like, but creating and supporting those Omeka sites may take a good bit of knowledge and time. When you use the hosted version of Omeka at omeka.net, it’s much easier, but you will run up against certain limits of space and functionality. You might also think of self-hosting Omeka as like owning a house, whereas using the hosted version of Omeka is like renting an apartment. Moving from one to the other is perfectly feasible, but it’s about the same level of hassle as moving house (it depends on how much stuff you have, for one thing!). Click here for more on this issue.
Then there’s Omeka S, the newest born in the Omeka family. It creates a local network of independently curated websites sharing a collaboratively built pool of items and their metadata. While Omeka Classic is designed for a single site around a general theme, argument, or research question; Omeka S was created for institutions managing a sharable resource pool across multiple sites. In addition, Omeka Classic uses Dublin Core while Omeka S implements multiple vocabularies and facilitates linked open data. If your project would benefit from relational data, then it might make sense to use Omeka S. Omeka Classic is a little easier to get off the ground (it automatically creates a site when you spin up the install) but both are well documented in terms of use. If you want to take a look at the differences yourself, you can experiment in the Omeka S sandbox.
Keep in mind that while there is a migration module between Omeka and Omeka S, there is no plugin that allows you to achieve the opposite, at the moment.
Finally, please note that Omeka is not the only nor always the best solution to create an online archive or a digital exhibit. According to your needs and the nature of your resources, you may want to explore other options, such as Wordpress, Collective Access, and Drupal.

This entry is licensed under a Creative Commons Attribution-NonCommercial-ShareAlike 4.0 International license.