When I started my oral history project two years ago, I knew very little about microphones and recorders. I knew I had to get a decent quality recording so that folx can hear my narrators but beyond that I was at a loss. Conversations with other graduate students interested in working with in-person interviews revealed that we had similar queries: a) what kinds of equipment do we need, b) where/how can we get these equipment, and c) how do we get the best out of the equipment we have (i.e. best practices for recording)?
Googling led me to understand that I had to have some sort of digital recording device that could be elevated by having an external microphone attached to it. Generally, most digital recording devices (including your phone!) have a built-in microphone. What an external microphone can do is help better pick up voices and distinguish them. Depending on the type of recorder and the number of microphones, each speaker could be recorded on a distinct track, allowing for more options during editing. This can be further parsed into the type of microphones and the types of connections to the recorder you would like to use… At this point, I was pretty overwhelmed, do I need this much information for the project I am conducting? How do I know what is good enough for the project?
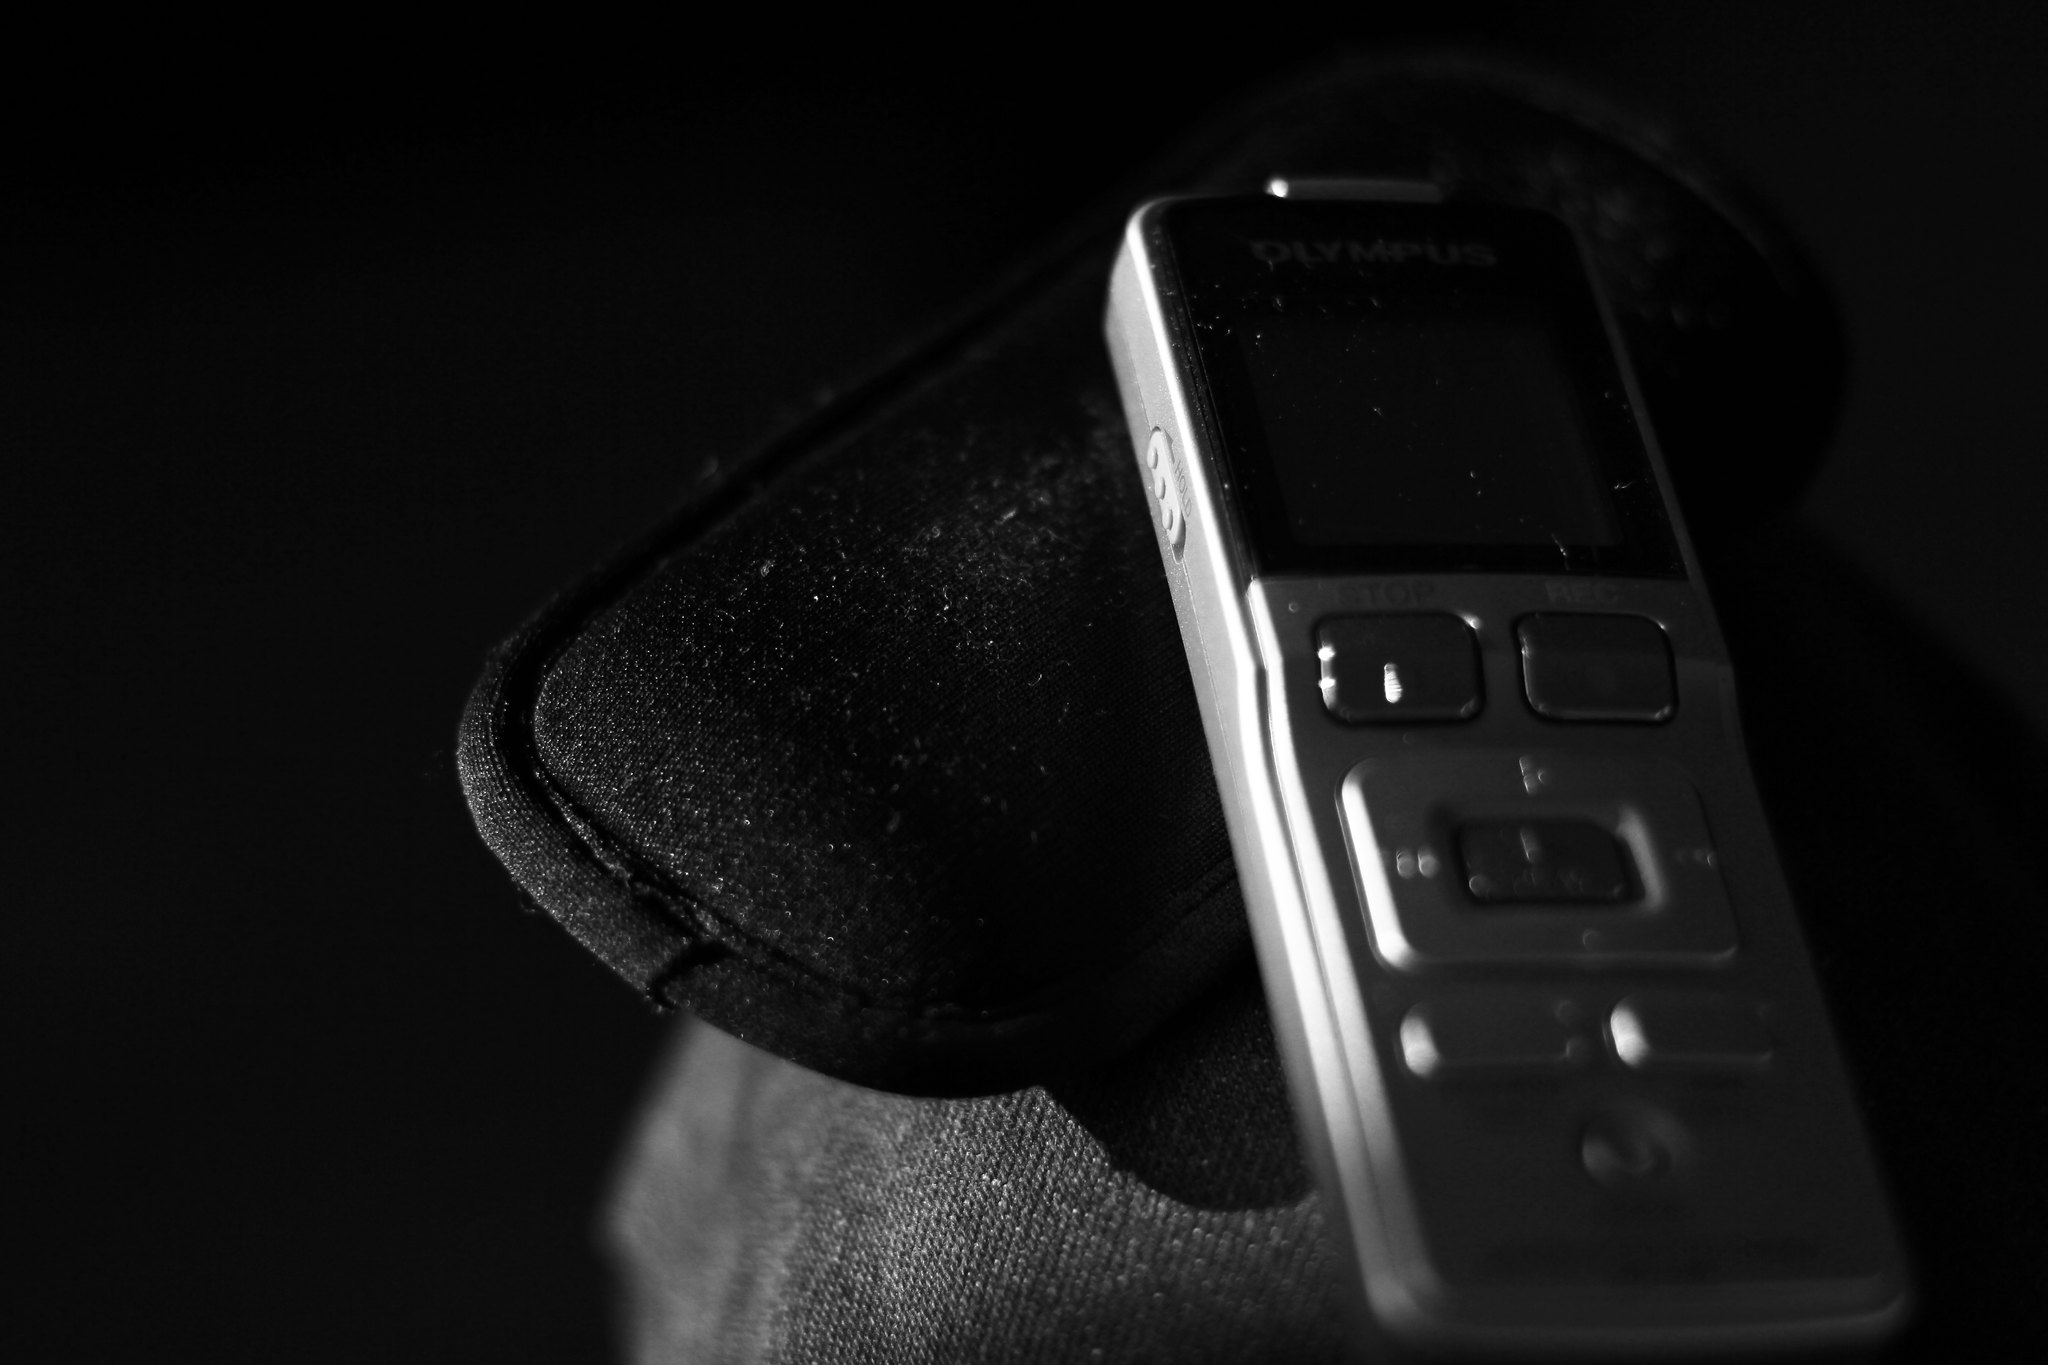
After searching some more, I came across “Oral History in the Digital Age” which has a section called Ask Doug . In this section, Doug Boyd comes up with a set of questions that helps you pick the microphones and recorders you need within your budget. These questions were the most helpful to me as they narrowed my search to devices that fit my budget. I was lucky to have a small budget for my oral history project that allowed me to purchase a digital recorder (Zoom H5 @ ~ $220), a set of lavalier lapel microphones (those that clip onto shirts; ~$20), and a couple of SD cards (~$10 ea).
Depending on your budget and your needs, you may not require all of the equipment I use. I decided to set aside a budget for recording equipment because I intend to publish the audio online. If you have some money set aside (but not enough for a dedicated digital recorder), an improvement to a phone recording can be done by attaching an external microphone. For example, the lavalier lapel microphone (it can plug into a 3.5 mm headphone jack!) I purchased was plugged into my phone when I was using it as a secondary recording device. If I were recording the interviews primarily for my own use without further dissemination, I would have just stuck with a recording app on my phone without an external microphone. iPhones have a default Voice Memos app and there are many voice recording apps available for Android phones as well. While the equipment I use are helpful in getting a better quality recording, when I did test interviews with just the Voice Memo app on my iPhone, I found that those recordings were really workable as well.
As such, it seemed that the importance of getting a good recording lay in some best practices rather than solely on equipment. Given that I work primarily with interviews, these tips may not apply to other forms of sound recording. However, I do hope that this list can serve as a useful place to start:
-
- Have two different recording devices if possible. In case one runs out of battery, malfunctions or you forget to hit record, an extra device provides you with a backup. I cannot mention how many times this has saved me!
- On this note, keep fresh batteries and/or your charger on you if you have a dedicated recorder. If possible, ensure that each time you record you are using fresh batteries or plugged in to prevent the possibility of running out of juice!
- Check that you have enough storage for a new recording. Depending on your device and the format of your recording file, I would try to keep at least 4GB of space for a 2-hour interview recording at 32-bit .wav (uncompressed audio format). (Don’t be too stressed about your audio format! Again, depending on the use of your audio, this can change.)
- Ensure that the microphone on your recording device is directed to the speaker as much as possible. In the event that you have several speakers and only one microphone input, place the microphone between the speakers.
- If you have a set of lavalier microphones, clip them as close as you can to your speakers’ mouth. Avoid necklaces or other accessories that could come into contact with the microphone as it would create noise in your recording (e.g. when accessories rub against or bump off the microphone).
- If you don’t have a set of lavalier microphones, consider placing your recording device on an elevated platform (e.g. a set of books on top of a table). This helps to ensure that you avoid introducing too much noise into your recording. If you’re placing your recorder directly on the table, vibrations generated from movements such as placing hands on the table can end up as noise in your recording.
- Record a minute of “silence” before or after the interview in the space where it occurs. This will help you when you are cleaning up your audio file after as it creates a baseline for noise levels.
- Try to record at a place that is relatively quiet. Your recording device will pick up sound that you may not hear generating some white noise in your recording background.
- Do a brief 30 second pre-recording between you and your narrator. After which, quickly playback the recording before you begin your formal interview. This will allow you to ensure that a) you have started the recording, b) the recorder works, and c) the microphones are picking up the voices well enough. Checking the playback immediately also gives you the opportunity to change and move the recorder to better pick up voices if necessary. I usually take this opportunity to do some ice-breaking and rapport building before launching into the oral history portion of the interview!
- Have two different recording devices if possible. In case one runs out of battery, malfunctions or you forget to hit record, an extra device provides you with a backup. I cannot mention how many times this has saved me!
These tips were especially helpful when I had to clean the audio after the interview. If you have any other tips and tricks to get better sound, please feel free to share them in the comments below or tweet them at us! Moreover, should you decide that you are interested in trying out a dedicated digital recorder, the Graduate Center library offers TASCAM audio recorders to loan for use. As of now (Oct 2019) GC students and alumni are welcome to loan them out.
Image credit: Winnerslay on flickr.com

This entry is licensed under a Creative Commons Attribution-NonCommercial-ShareAlike 4.0 International license.


 for your Interview)